Pumpkin Pie From Scratch
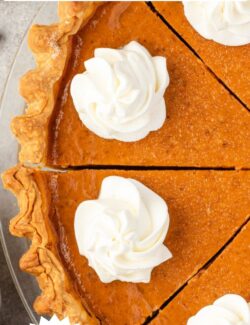
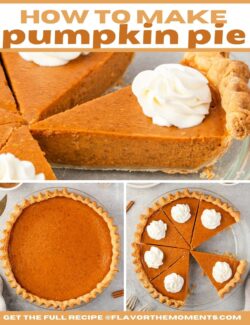
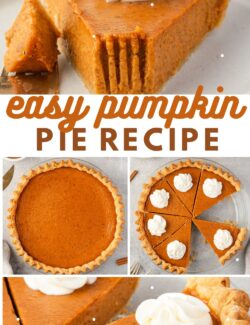
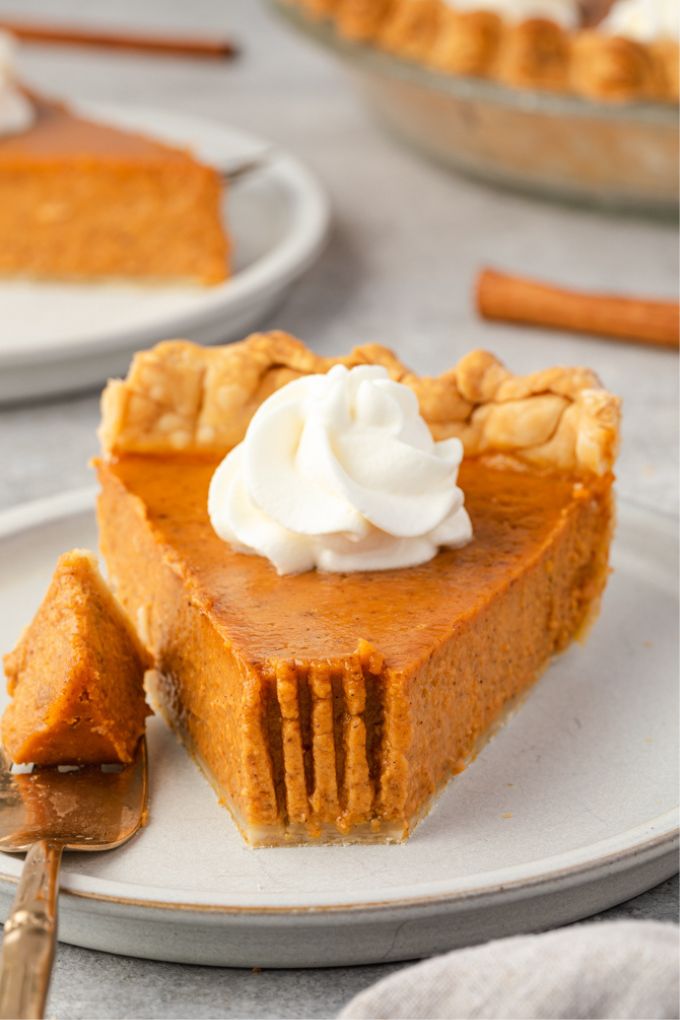
Learn how to make Pumpkin Pie from Scratch with only a few simple ingredients! This homemade pumpkin pie has a buttery, flaky pie crust, luscious pumpkin filling and plenty of warm pumpkin spice flavor. It’s the perfect fall dessert and it can be made entirely in advance!
Thanksgiving is quickly approaching! You may have your menu planned out already, but there’s always room for another dessert — especially pumpkin pie!
Every year I make 2-3 pies, because most people want to sample a few different types.
My family has come to expect key lime pie and possibly apple cranberry pie, but for me, it’s not Thanksgiving without this Pumpkin Pie from Scratch.
This pie is next level with my homemade pumpkin purée. The fresh pumpkin makes such a difference in flavor and texture!
Of course it’s up to you whether you want to make homemade pumpkin purée or canned pumpkin. Rest assured the recipe includes instructions for both because we all need short cuts! 🙂
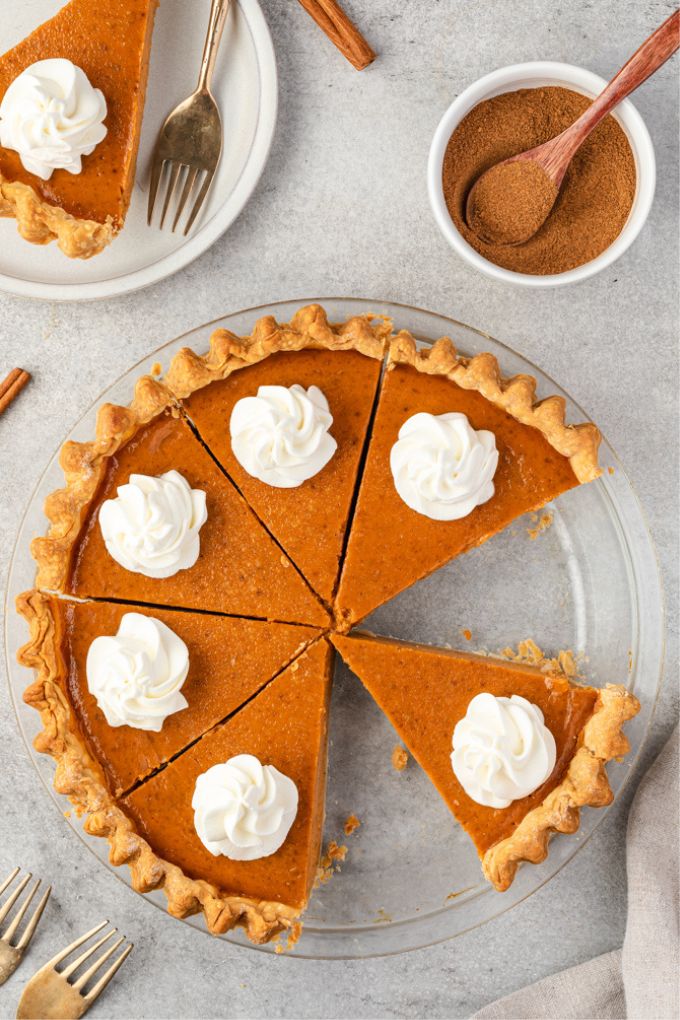
Table of contents
Why you’ll love this recipe
- It’s the perfect fall dessert. This Pumpkin Pie from Scratch has a buttery, flaky pie crust, a velvety pumpkin filling and it’s packed with cozy pumpkin spice flavor.
- It’s made entirely from scratch. The foolproof homemade pie crust comes together in just a few minutes, and the homemade pumpkin purée gives this pie a velvety texture and fresh flavor.
- It can be made in advance. The pie crust and pumpkin purée can be made in advance, and the entire pie can be baked up to 2 days ahead of time.
- You have options. Just in case you’re short on time, the recipe includes instructions to use canned pumpkin.
Recipe ingredients
This homemade pumpkin pie is made with evaporated milk, but it can also be substituted with sweetened condensed milk. See the ingredient notes below for more information.
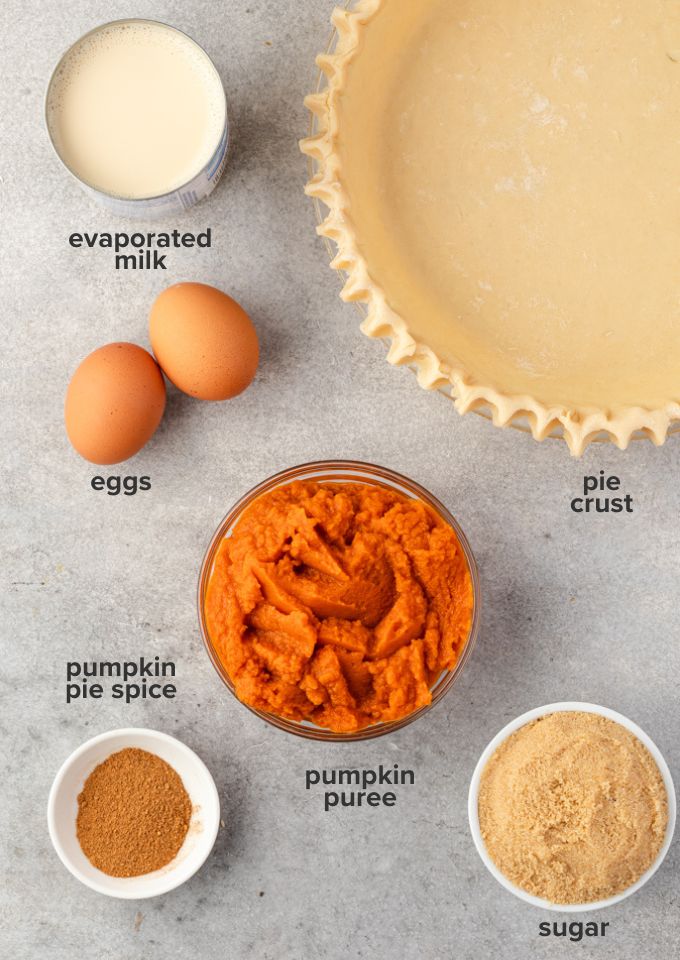
- 9″ pie crust. My homemade pie crust comes together in minutes in a food processor — it is foolproof and may be made up to a few days advance! You can also use store bought pie dough if you’re short on time.
- Pumpkin. You can prepare my homemade pumpkin purée following the instructions in that post, or use canned pumpkin straight from your pantry. You’ll need 1 1/2 cups of purée, or 15 ounces of canned pumpkin.
- Eggs. Two large eggs provide structure to the pumpkin pie filling.
- Evaporated milk. You’ll need (1) 12 ounce can of evaporated milk for the pie filling. Sweetened condensed milk may also be used, but be sure to omit the brown sugar as it already includes plenty of sugar.
- Brown sugar. 3/4 cup of packed brown sugar adds sweetness and depth of flavor. Do not add the brown sugar if you are using sweetened condensed milk.
- Pumpkin spice. Use my homemade pumpkin pie spice or your favorite store bought brand.
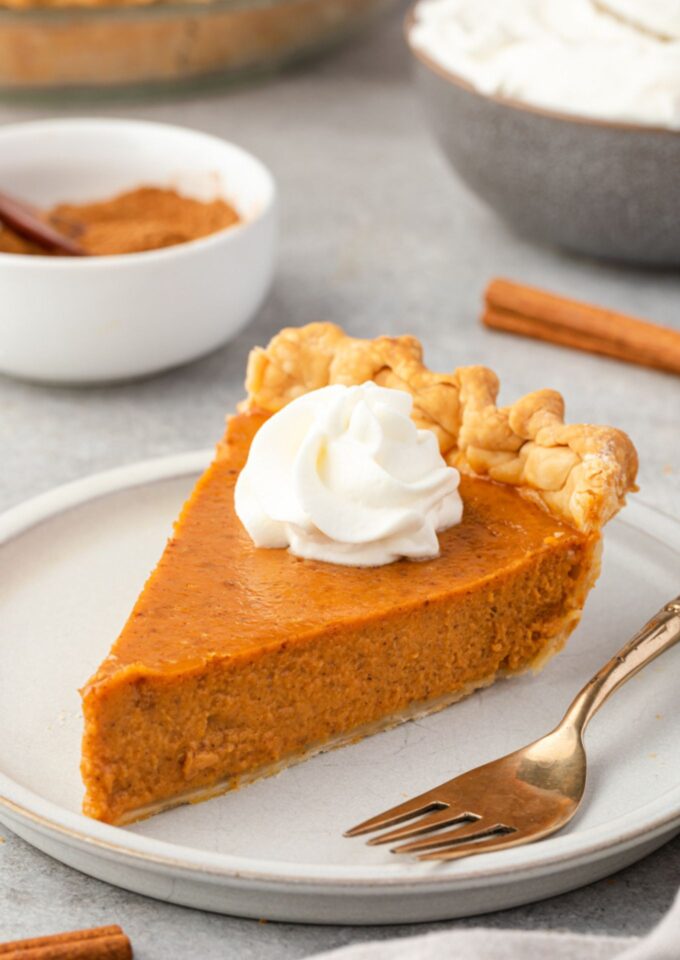
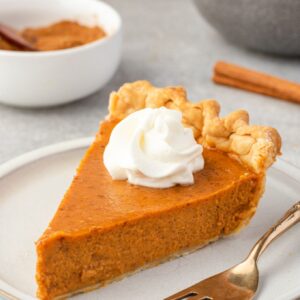
- Whipped cream. Be sure and top your pie with my homemade whipped cream or your favorite store bought brand.
How to make homemade pumpkin pie
This homemade pumpkin pie recipe is super easy, especially when it’s broken down into components. The pie crust and purée may be made in advance!
Pro tip: If using homemade pumpkin purée, be sure to strain it overnight in the refrigerator to remove excess moisture as my instructions state, or your filling will be watery. You can always use canned pumpkin if you’re more comfortable.
See the recipe card below for full instructions.
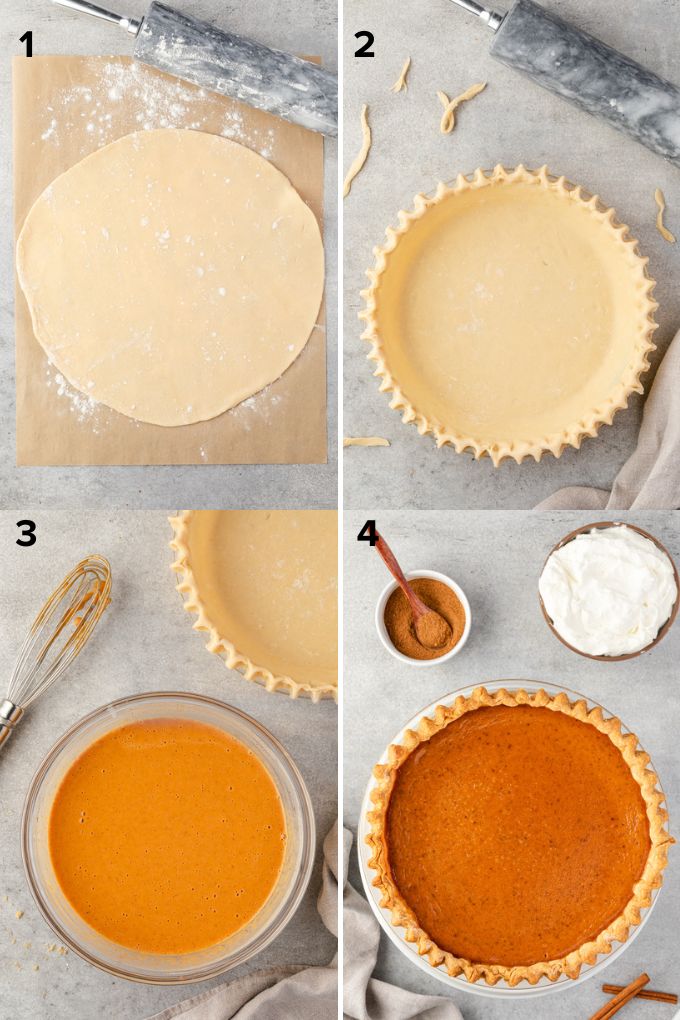
- Roll out chilled pie dough on a lightly floured surface until it’s 1-2″ larger in circumference than your 9″ pie plate.
- Carefully transfer the dough to the pie plate, trim the edges and crimp them. Chill for 30 minutes.
- Whisk together the eggs, evaporated milk, brown sugar, pumpkin puree and pumpkin pie spice until smooth.
- Pour the filling into the pie crust and bake at 425 degrees for 15 minutes, then reduce the heat and bake for another 40-50 minutes or until the center has puffed but is still slightly jiggly.

FAQs
You can use fresh or canned pumpkin for this homemade pumpkin pie recipe. I’ve used homemade pumpkin purée for this recipe, which adds a fresher flavor and velvety texture, but this pie is delicious either way.
When using homemade purée, be sure to strain it in a cheesecloth lined sieve overnight to remove any excess moisture.
Evaporated milk and sweetened condensed milk are not the same thing, and cannot be used interchangeably.
Evaporated milk is milk that has been cooked down to reduce a large amount of water, making it thicker and richer. It is unsweetened, which means if you use it in place of sweetened condensed milk, you must add sugar.
Sweetened condensed milk is simply sweetened evaporated milk. If you use this type of milk in your pumpkin pie, there’s no need to add any additional sweetener. 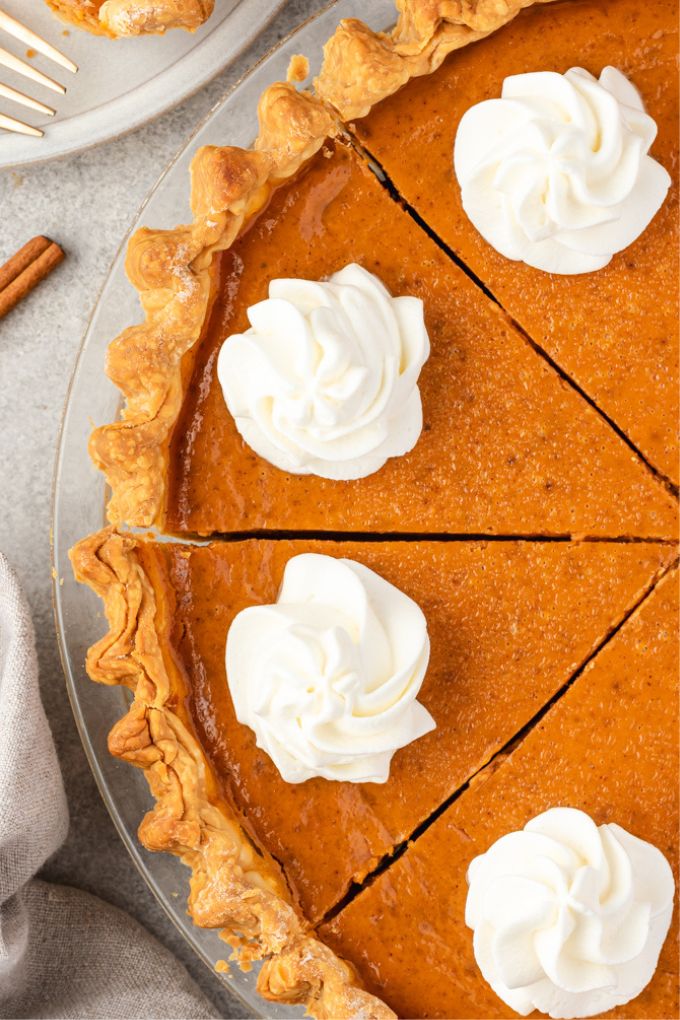
Baking a pie crust prior to adding the filling is called blind baking. When a pie crust is blind baked, the filling won’t make it soggy.
I have baked my pumpkin pie from scratch with a blind baked crust and without, and prefer not to blind bake the crust first because I simply don’t feel that it’s necessary.
A telltale sign that your pumpkin pie is done is that it will be puffed in the center. The center should still be slightly jiggly as it will continue baking for a bit once it’s removed from the oven.
You can insert a cake tester or the tip of the knife into the center of the pie to test for doneness if you prefer. If it comes out clean, the pie is done.
If your pumpkin pie has cracked, it has been over baked. Don’t worry, however as it will still taste great! Simply cover it with whipped cream and your secret is safe. 🙂
Definitely! I actually recommend baking your pumpkin pie from scratch the day before, as it’s better after it’s been chilled completely in the refrigerator.
Recipe notes
- Pro tip: If using homemade pumpkin purée, be sure to strain it overnight in the refrigerator to remove excess moisture as my instructions state, or your filling will be watery. You can always use canned pumpkin if you’re more comfortable.
- If your pie cracks, that means it has over baked. It will still be delicious — simply cover it with whipped cream and your secret is safe.
- The pie crust may be made in advance. Wrap tightly in plastic wrap and store in the refrigerator for 2-3 days.
- The pie may be made 1-2 days in advance. Leftover pumpkin pie will keep in the refrigerator for 3-5 days.
More pumpkin desserts you’ll love:
- Mini pumpkin cheesecakes
- Pumpkin cake from Like Mother Like Daughter
- Pumpkin pecan pie
- Pumpkin pie bars
Did you try this recipe? If so, be sure to leave a review below and tag me @flavorthemoments on Facebook and Instagram
Pumpkin Pie From Scratch
Equipment
Ingredients
- 1 9" pie crust
- 2 large eggs
- 12 ounces evaporated milk
- 3/4 cup packed brown sugar
- 1.5 cups pumpkin puree homemade or store bought; 15 ounces canned pumpkin
- 2 teaspoons pumpkin pie spice substitute with store bought
- homemade whipped cream
Instructions
- Remove the pie dough from the refrigerator and let stand at room temperature until soft enough to roll, about 15-20 minutes. Place on a floured work surface, then sprinkle the top lightly with flour. Using a floured rolling pin, roll the pie crust from the center outward, clockwise at 10 minute intervals, until it’s 1″ – 2" larger than the circumference of the pie pan. Be sure to flour the rolling pin and underneath the pie crust every few rolls to prevent sticking.1 9" pie crust
- Gently roll the pie crust loosely around the rolling pin. Unroll the pie dough into the pie plate and trim and crimp the edges. Chill it in the refrigerator for 30 minutes.
- Preheat the oven to 425 degrees. Place the eggs, evaporated milk, brown sugar, pumpkin puree and pumpkin pie spice in a medium bowl and whisk well until well combined.2 large eggs, 12 ounces evaporated milk, 1.5 cups pumpkin puree, 2 teaspoons pumpkin pie spice, 3/4 cup packed brown sugar
- Pour into the prepared pie crust and smooth evenly. Bake for 15 minutes at 425 degrees, then reduce heat to 350 degrees and bake for 45-50 minutes or until the center is puffed but slightly jiggly. Be sure to cover the pie crust with a pie shield or foil after about 15-20 minutes once it has browned to prevent burning.
- Remove from heat and cool completely on a wire rack for 2 hours. Once the pie has cooled, place in the refrigerator to chill. Serve with whipped cream and enjoy!homemade whipped cream
Notes
- Pro tip: If using homemade pumpkin purée, be sure to strain it overnight in the refrigerator to remove excess moisture as my instructions state, or your filling will be watery. You can always use canned pumpkin if you’re more comfortable.
- Total time above does not include preparing the pie crust, pumpkin puree or whipped cream as prep time for those have been calculated in a separate post.
- If your pie cracks, that means it has over baked. It will still be delicious — simply cover it with whipped cream and your secret is safe.
- The pie crust may be made in advance. Wrap tightly in plastic wrap and store in the refrigerator for 2-3 days.
- The pie may be made 1-2 days in advance. Leftover pumpkin pie will keep in the refrigerator for 3-5 days.
Nutrition
Nutrition is estimated using a food database and is only intended to be used as a guideline for informational purposes.
**This recipe was originally published in November 2019. The photos have been updated to include step by step instructions and the text has been modified to include more recipe information.

4 Comments on “Pumpkin Pie From Scratch”
Such a perfect, classic pie! Especially for Thanksgiving! I have never tried my own pumpkin puree but I”m sure it’s well worth the effort. Happy Thanksgiving, Marcie!
Thank you Katherine! I love how easy pumpkin pie is and hope you get to try it!
Oh yum, Marcie! Pumpkin pie with homemade pumpkin puree is the best! So worth the little extra effort for such a special pie on the holiday table! Happy Thanksgiving!
It sure is worth the effort! Thanks Kelly and Happy Thanksgiving!