Easy Peppermint Brownies
If you love chocolate and peppermint, these Easy Peppermint Brownies are just for you! They’re perfectly fudgy, bursting with refreshing peppermint flavor, and they come together in just one pot!
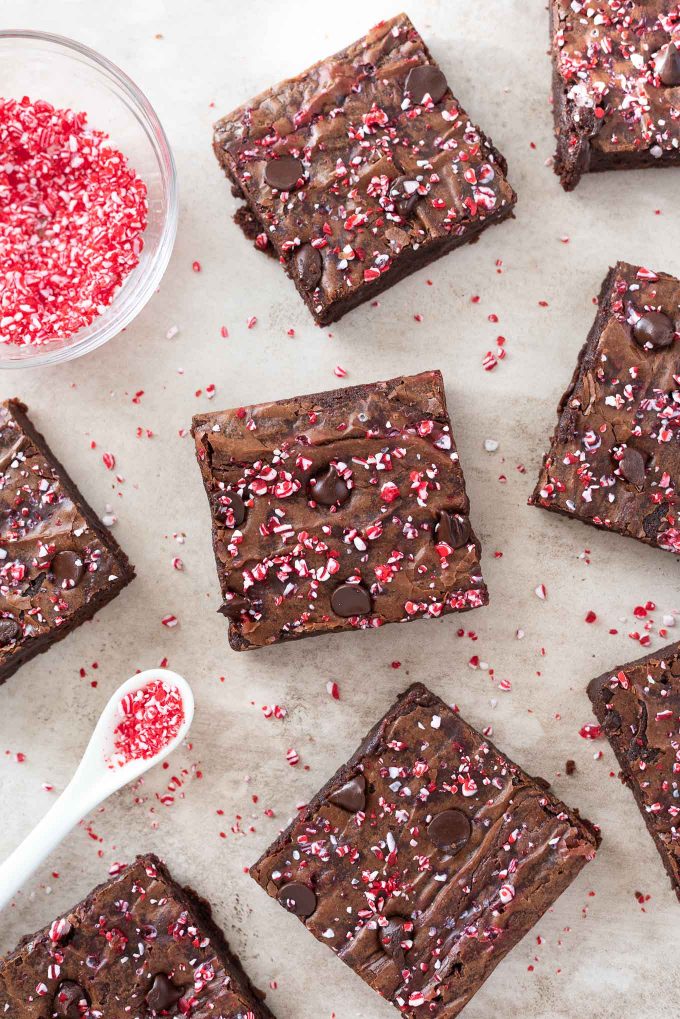
I’ve never been a big fan of candy canes, but when they’re paired with chocolate it’s a completely different story.
I crave chocolate and peppermint almost constantly during Christmastime, so I indulge in my share of peppermint bark and especially these Peppermint Brownies!
I love that one of these brownies completely satisfies my chocolate peppermint cravings.
At least until the next day. 🙂
Why you’ll love this recipe:
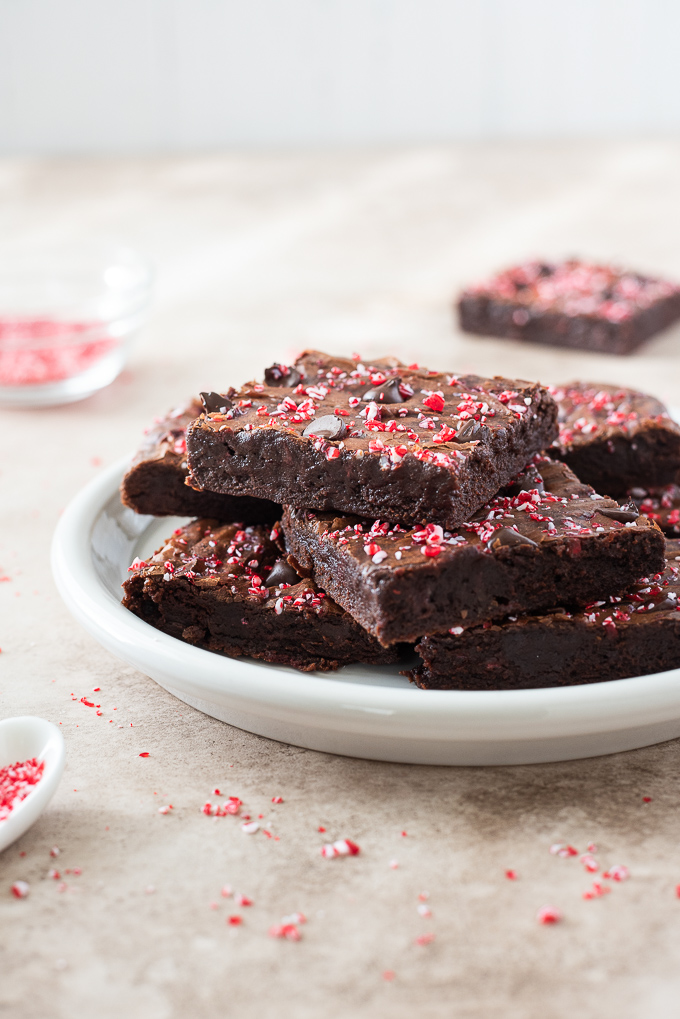
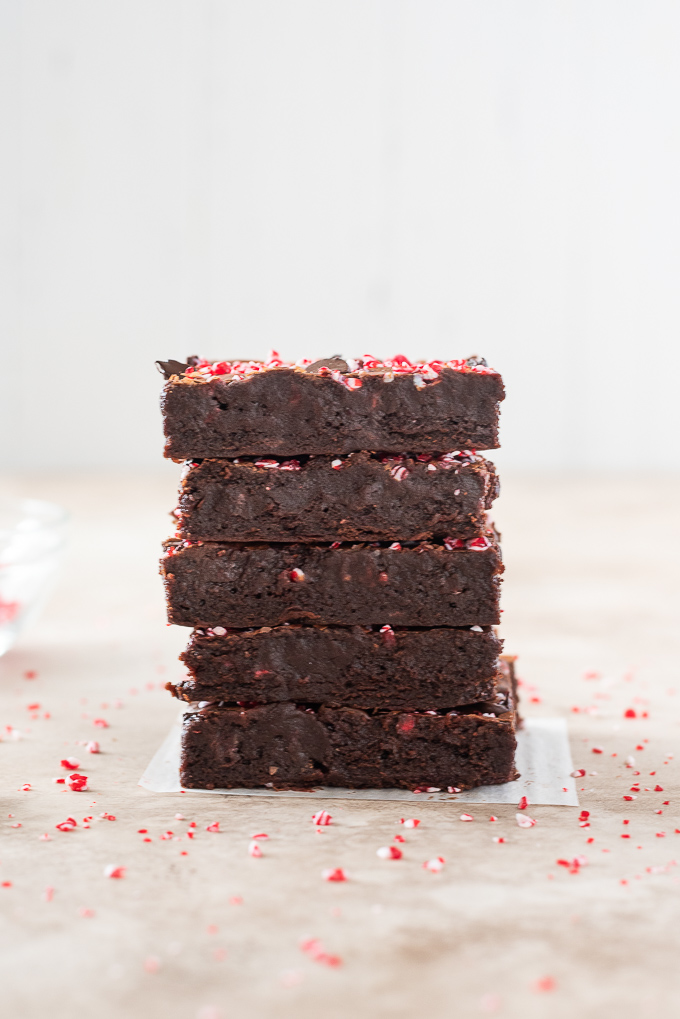
- These brownies are perfectly fudgy with crackly tops and refreshing peppermint flavor.
- This is the easiest brownie recipe ever. There’s no melted chocolate to deal with, and it comes together in just one pot!
- This recipe is festive enough for the holiday cookie tray and perfect for gift giving.
- Brownies may be customized with white chocolate chips or drizzled with chocolate ganache for extra flair.
Recipe ingredients
I feel that you can never have enough brownie recipes because they’re all different. Some are made with chopped chocolate for a rich, gooey texture like my German chocolate brownies, and some include a combination of chopped chocolate and cocoa powder for a fudgy middle and big chocolate flavor like my peanut butter brownies.
Then there are simple cocoa brownies with crackly tops like my deliciously chewy coconut oil brownies and these peppermint brownies.
Cocoa brownies will always be my favorite because there’s no chocolate to chop, and cocoa powder is always in the pantry right?
I love that there are just a few simple ingredients in this peppermint brownie recipe, and several ingredients are easily customized with what you have on hand.
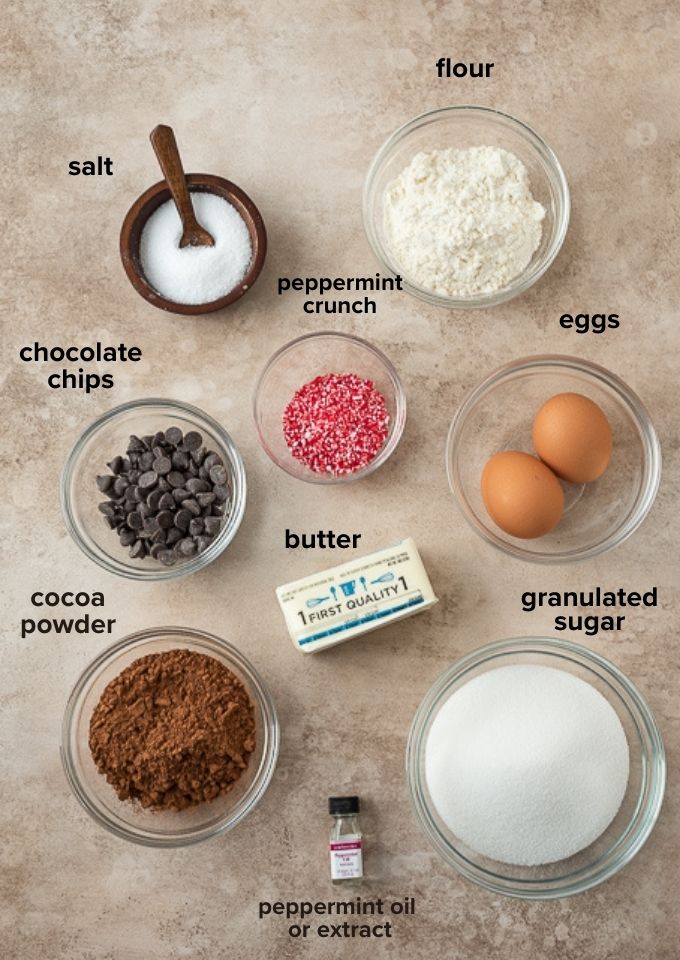
Ingredient notes
- Butter. I used unsalted butter so that I could control the sodium. If you use salted butter, omit the 1/2 teaspoon salt in the recipe.
- Chocolate chips. I used dark chocolate chips for big chocolate flavor, but they may be substituted with whatever you have on hand or omitted altogether.
- Peppermint crunch. I love using peppermint crunch, which is finely crushed peppermint that can be used just like sprinkles. It’s a huge time saver, but you can certainly crush candy canes or peppermint candies yourself if you prefer.
- Peppermint oil/extract. Peppermint oil or extract adds big, refreshing flavor to these brownies. A little goes a long way, so I’ve only used 1/2 teaspoon in this recipe. If you don’t have either on hand, omit altogether and add a bit more crushed peppermint if desired.
How to make this recipe
This peppermint brownie recipe is super easy to make and comes together in one pot!
Pro tip: Be sure to allow the cocoa sugar mixture to time to cool before adding the eggs.
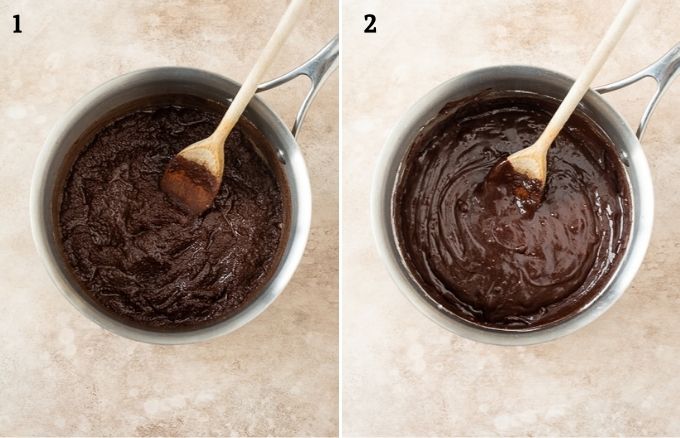
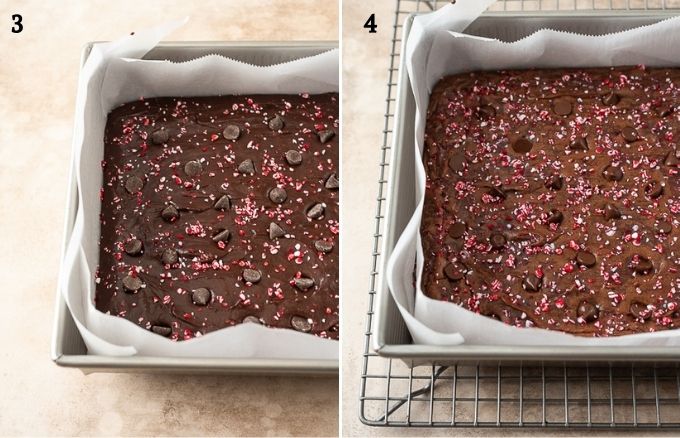
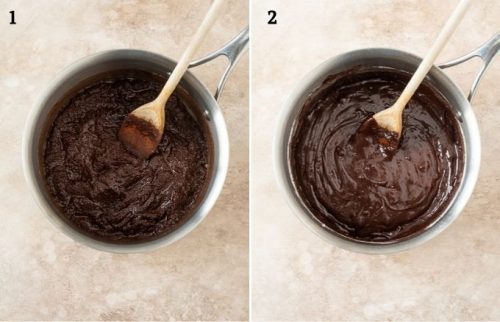
- Preheat oven to 325 degrees. Line a 9×9″ baking dish with foil or parchment paper and set aside. Melt the butter in a medium sauce pan over medium low heat. Add the sugar, cocoa powder and salt, and stir well to combine. Continue to cook, stirring occasionally until the mixture is very warm to the touch. Remove from heat and stir in the peppermint extract, then allow to cool for 5-10 minutes.
- Add the eggs one at a time, beating vigorously after each addition. Stir in the flour just until incorporated, then stir in the chocolate chips and peppermint crunch, reserving some for the top of the brownies.
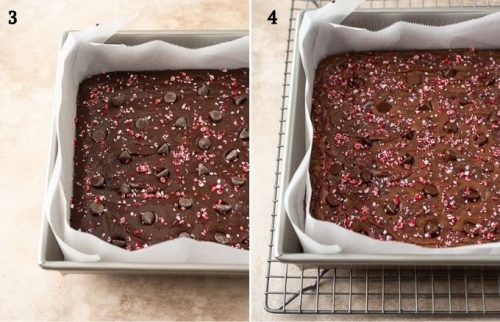
- Pour the batter into the prepared pan and spread evenly, then top with the reserved chocolate chips and peppermint crunch.
- Bake for 20-25 minutes, or until the center is puffed and a toothpick inserted into the center comes out with just a few moist crumbs. Cool completely on a wire rack.
Recipe FAQs
Fudgy brownies have a higher fat to flour ratio. This recipe has one stick of butter to 1/2 cup flour, resulting in a nice fudgy texture.
Unsweetened cocoa powder is the best cocoa powder to use in brownies in order to control the amount of sugar.
When brownies are done, the top will be shiny and crackly, the center will be puffed, and the edges will pull away from the sides of the pan.
For best results, cool brownies for a minimum of one hour on a wire rack before cutting.
There is no need to store brownies in the refrigerator. They will keep stored in an air tight container at room temperature for up to 5 days, or freeze for up to 3 months.
Recipe notes
- Pro tip: Be sure to allow the cocoa sugar mixture to time to cool before adding the eggs.
- Store leftover brownies in an air tight container at room temperature for up to 5 days or freeze for up to 3 months.
- Peppermint extract/oil adds big flavor, so a little goes a long way. If you don’t have any on hand, omit altogether and add more crushed peppermint if desired.
- Change up these peppermint brownies by using white chocolate chips or topping with chocolate ganache!
More chocolate peppermint recipes you’ll love:
- Double chocolate peppermint cookies by A Classic Twist
Did you try this recipe? If so, be sure to leave a review below and tag me @flavorthemoments on Facebook and Instagram
Easy Peppermint Brownies
Equipment
Ingredients
- 1 stick unsalted butter
- 1 cup granulated sugar
- 1/2 cup unsweetened cocoa powder
- 1/2 teaspoon sea salt
- 1/2 teaspoon peppermint extract or oil
- 2 large eggs
- 1/2 cup all purpose flour
- 1/2 cup chocolate chips divided
- 3 tablespoons peppermint crunch or crushed candy canes divided
Instructions
- Preheat oven to 325 degrees. Line a 9×9" baking dish with foil or parchment paper and set aside. Melt the butter in a medium sauce pan over medium low heat. Add the sugar, cocoa powder and salt, and stir well to combine. Continue to cook, stirring occasionally until the mixture is very warm to the touch. Remove from heat and stir in the peppermint extract, then allow to cool for 5-10 minutes.
- Add the eggs one at a time, beating vigorously after each addition. Stir in the flour just until incorporated, then stir in the chocolate chips and peppermint crunch, reserving some for the top of the brownies.
- Pour the batter into the prepared pan and spread evenly, then top with the reserved chocolate chips and peppermint crunch.
- Bake for 20-25 minutes, or until the center is puffed and a toothpick inserted into the center comes out with just a few moist crumbs. Cool completely on a wire rack
Notes
- Pro tip: Be sure to allow the cocoa sugar mixture to time to cool before adding the eggs.
- Store leftover brownies in an air tight container at room temperature for up to 5 days or freeze for up to 3 months.
- Peppermint extract/oil adds big flavor, so a little goes a long way. If you don’t have any on hand, omit altogether and add more crushed peppermint if desired.
- Change up these peppermint brownies by using white chocolate chips or topping with chocolate ganache!
Nutrition
Nutrition is estimated using a food database and is only intended to be used as a guideline for informational purposes.
**This recipe was originally published in December 2015. I’ve updated the photos and text to include more information and step by step photos, and I’ve simplified the recipe.




37 Comments on “Easy Peppermint Brownies”
Very moist and delicious! I used a 8×8 dish because I like my brownies thick! Just meant they needed to bake a little longer
I love the idea of extra thick brownies! I’m glad you enjoyed them Jules and thanks for the review! 🙂
I definitely will make these tonight, for Christmas Day, my granddaughter requested that I make these for her! Lol! I’m not sure why most of the reviews are saying mocha, as I see the recipe does not call for espresso. Did I miss something, somewhere?
I hope you enjoyed the brownies! You didn’t miss anything…the recipe used to include espresso powder and a cream cheese frosting but I changed it to make it easier. Hope you had a Merry Christmas!
I made these and they were not very good. Super thin, candy cane bits melted into the brownies in the oven, and they aren’t sweet at all.
I’m sorry they didn’t work for you, but I just made them the other day and they got rave reviews from everyone. They aren’t overly sweet like a lot of brownies…I think these are perfect.
Marcie these brownies look soooo good. I love the cream cheese frosting to go with it! Chocolate and peppermint is a MUST for the holidays!!
I used to top them with cream cheese frosting then I stopped because they really just don’t need it! They’re perfect all on their own, and I agree — chocolate and peppermint is a must!
I am still craving chocolate and peppermint! It’s the best!