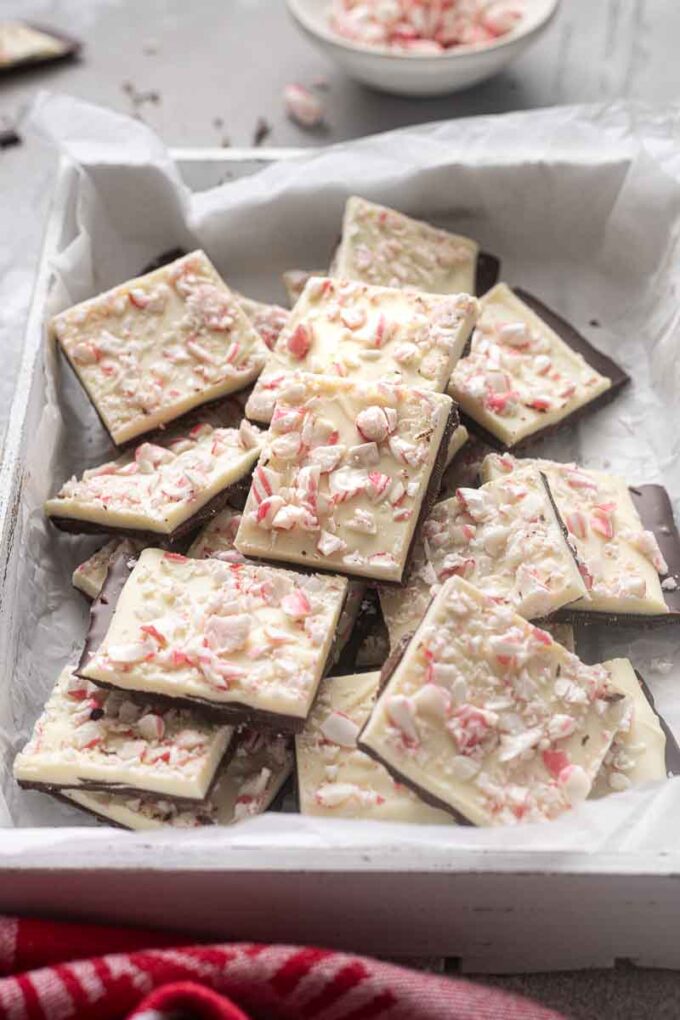
Peppermint Bark Recipe

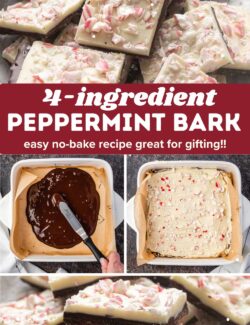
This Peppermint Bark recipe has been a Christmas tradition for years! Rich, creamy layers of white and dark chocolate are topped with crushed candy canes for a refreshing yet decadent combination that’s completely irresistible. It’s made with just 4 ingredients and it’s perfect for the holiday cookie tray or gift giving!

Years ago, my nieces used to come over and help me bake for Christmas. We made dozens of Christmas sugar cookies and gingerbread cookies, then spent a decent amount of time decorating all of them.
Surprisingly, our favorite thing to make (and eat!) was the easiest. This Peppermint Bark recipe has reigned supreme ever since, and it’s always a part of my Christmas cookie boxes.
Normally I’m not a fan of white chocolate because it’s too sweet for me, but it’s flavor pairs perfectly with the dark chocolate and peppermint in this recipe.
The contrasting flavors and colors just scream Christmas. 🙂
Why you’ll love this recipe:
- This peppermint bark has rich, creamy layers of white and dark chocolate and refreshing crushed candy canes for the ultimate flavor combination!
- It’s made with just 4 ingredients and it’s so easy to make!
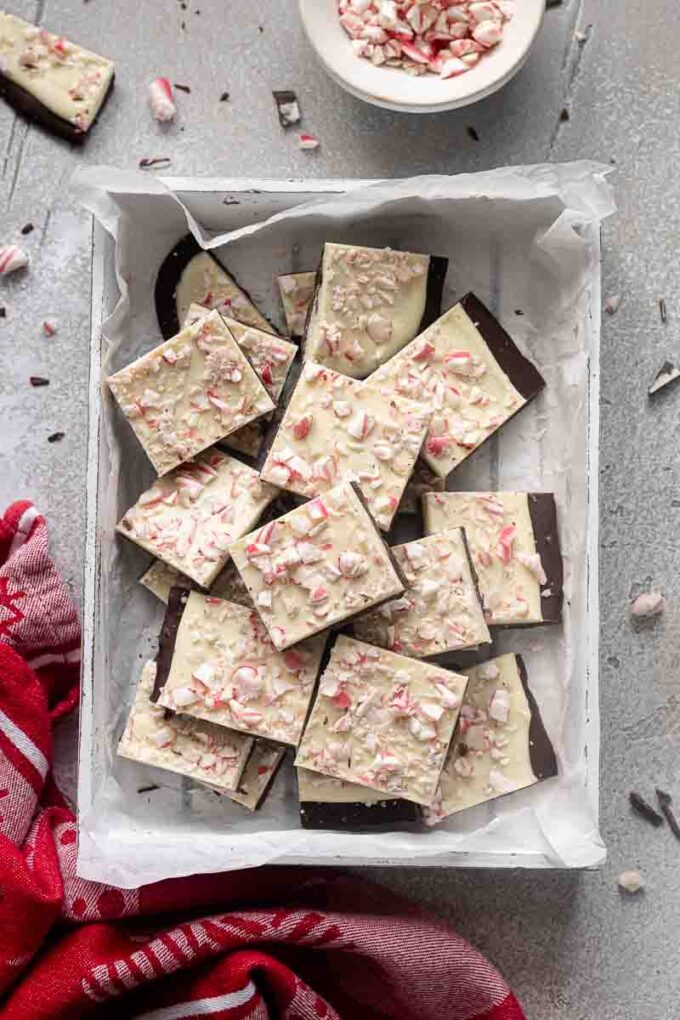
- The bark is a festive addition to the holiday cookie tray and makes a great homemade gift!
- It keeps in the refrigerator for up to 2 weeks in an air tight container.
Recipe ingredients
You gotta love when a recipe has a short list of ingredients, and this chocolate peppermint bark is one of them. There are only 4!
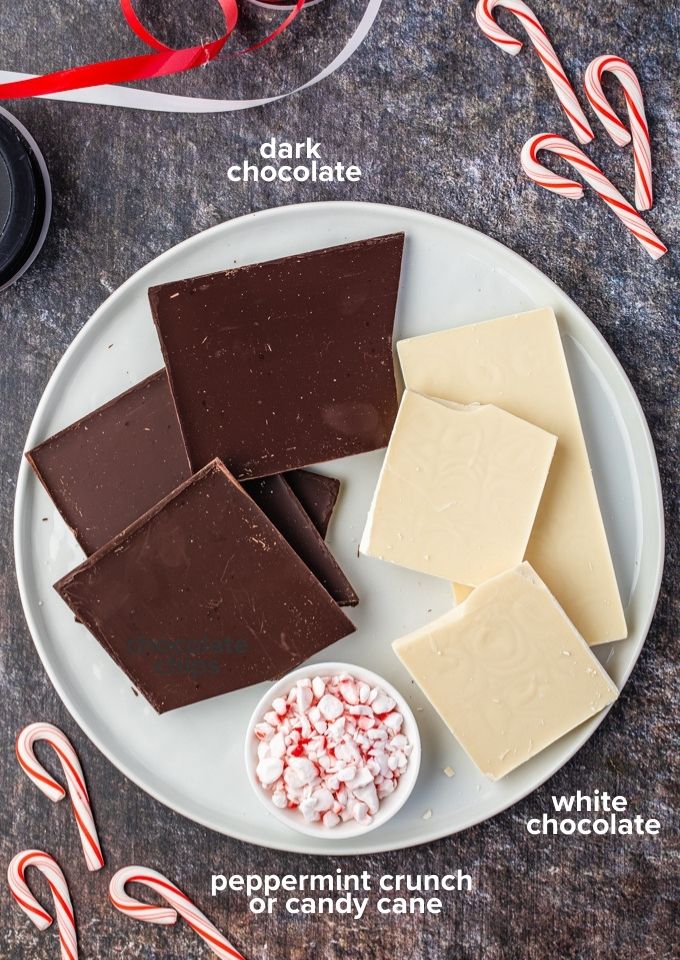
- White and dark chocolate. The chocolate is the star of this recipe, so quality is key. I recommend using good chocolate bars with no additives or preservatives. I have used Guittard baking wafers with great success as well, which means there’s no chopping involved. If you’re not a fan of bittersweet or dark chocolate, substitute half with semi-sweet, or use all semi-sweet. I don’t recommend using milk chocolate as that will be much too sweet paired with the white chocolate.
- Peppermint. You’ll need about 3 large candy canes or 9 small ones. Place the candy canes in a zip top bag and smash with a rolling pin or mallet. You can also buy peppermint crunch to save some time.
- Peppermint extract. While this is optional, it adds even more refreshing peppermint flavor.
See the recipe card below for the full list of ingredients and quantities.
How to make this recipe
This peppermint bark is extremely easy to make because it’s not necessary to temper the chocolate. Just melt it in a double boiler (in this case a pan of simmering water), and chill until just set.
You can also melt the chocolate in the microwave as well! Simply place chopped chocolate in a heat proof bowl and heat at 50% power for minute. Stir, then heat at 50% power in 30 second intervals, stirring in between until the chocolate has melted.
Pro tip: Do not allow the dark chocolate layer to set completely before spreading the melted white chocolate over the top as the layers can separate. 10 or 15 minutes of chilling time should be plenty!
See the recipe card below for full instructions.

- Fill a large sauté pan with a few inches of water and bring to a simmer over medium heat, then reduce the heat to low. This is your double boiler. Place the bittersweet chocolate into a heat proof bowl and place the bowl in the pan of simmering water. Stir the chocolate as it melts, scraping down the sides of the bowl.
- When the chocolate is completely melted, remove from heat and stir in half of the peppermint extract.
- Pour the chocolate onto the prepared pan and spread out to about 1/4″ thickness, then place in the refrigerator for about 10-15 minutes or until almost set.
- While the dark chocolate chills, repeat the same steps to melt the white chocolate.
- When the white chocolate is completely smooth, remove the dark chocolate layer from the refrigerator. Pour the white chocolate over the dark chocolate, and spread evenly over the top, being careful not to swirl the layers.
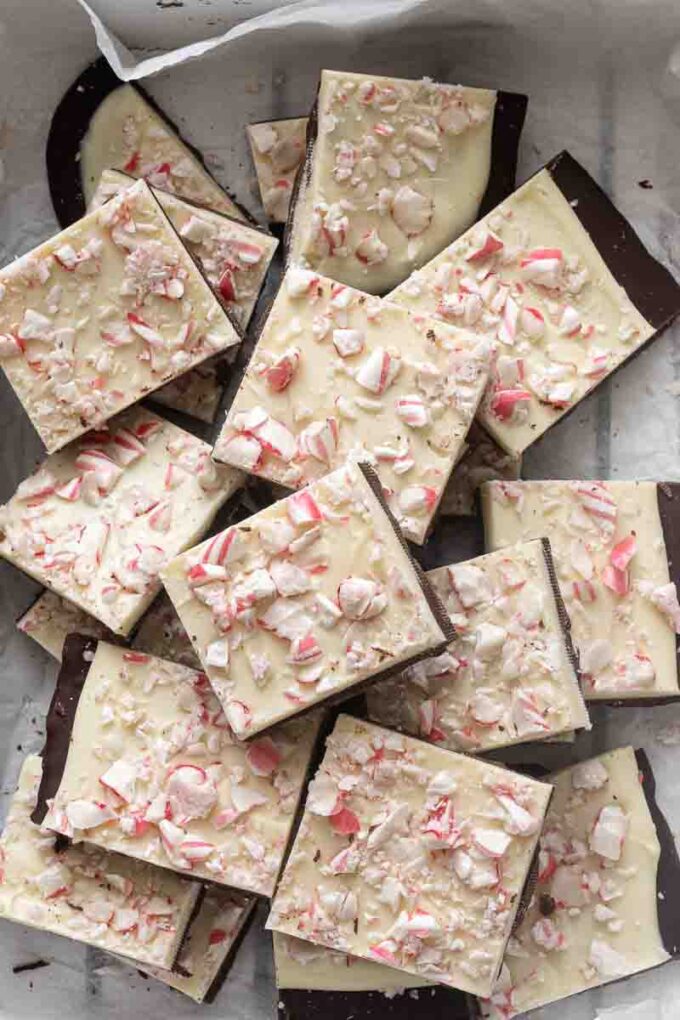
- Sprinkle the top crushed candy canes and return to the refrigerator for a minimum of 30 minutes to set.
- When the bark has set, remove it from the pan and place on a cutting board. Allow it to soften at room temperature for a few minutes to make it easier to cut.
- Using the tip of a sharp knife, cut the bark into pieces. When the tip of the knife is inserted, the bark breaks on its own.
Recipe FAQs
Instead of using a double boiler to melt chocolate, you can certainly use the microwave. Simply place chopped chocolate in a heat proof bowl and heat at 50% power for minute. Stir, then heat at 50% power in 30 second intervals, stirring in between until the chocolate has melted.
You can certainly use chocolate chips for this peppermint bark to save time, but I do recommend using good quality chocolate as it’s the star of the bark.
While you can store homemade peppermint bark in an air tight container at room temperature, I prefer to store it in the refrigerator to keep it chilled.
Homemade peppermint bark will keep in an air tight container in the refrigerator for 2 weeks.
Recipe notes
- Pro tip: Do not allow the dark chocolate layer to set completely before spreading the melted white chocolate over the top as the layers can separate. 10 or 15 minutes of chilling time should be plenty!
- You can also melt the chocolate in the microwave as well! Simply place chopped chocolate in a heat proof bowl and heat at 50% power for minute. Stir, then heat at 50% power in 30 second intervals, stirring in between until the chocolate has melted.
- Be sure to use good quality chocolate for this peppermint bark as it’s the star of the show! Use chocolate bars or baking wafers without additives or preservatives.
- If you’re not a fan of dark chocolate, substitute half of the bittersweet chocolate with semi-sweet chocolate or use all semi-sweet. I don’t recommend using milk chocolate as the bark will be far too sweet.
- Store unused bark in the refrigerator in an airtight container for up to 2 weeks.
Did you try this recipe? If so, be sure to leave a review below and tag me @flavorthemoments on Facebook and Instagram

Peppermint Bark Recipe
Ingredients
- 8 ounces dark chocolate coarsely chopped; see note 2
- 1/2 teaspoon peppermint extract optional; adds more refreshing peppermint flavor.
- 8 ounces white chocolate bars coarsely chopped
- 4 tablespoons crushed candy canes divided
Instructions
- Line a small rimmed baking sheet or 8×8 square baking dish with parchment paper or foil and set aside.
- Fill a large sauté pan with a few inches of water and bring to a simmer over medium heat, then reduce the heat to low. This is your double boiler. You can also melt the chocolate in the microwave as well! Simply place chopped chocolate in a heat proof bowl and heat at 50% power for minute. Stir, then heat at 50% power in 30 second intervals, stirring in between until the chocolate has melted.
- Place the dark chocolate into a heat proof bowl and place the bowl in the pan of simmering water. Stir the chocolate as it melts, scraping down the sides of the bowl. When the chocolate is completely melted, remove from heat and stir in the peppermint extract. Pour the chocolate onto the prepared pan and spread out to about 1/4" thickness, then place in the refrigerator for about 10-15 minutes or until nearly set. It's important not to let the chocolate set completely before topping with the white chocolate as the layers can separate.8 ounces dark chocolate
- Once the dark chocolate has set, repeat the same steps for the white chocolate. When the white chocolate is completely smooth, remove the dark chocolate layer from the refrigerator. Pour the white chocolate over the dark chocolate, and spread evenly over the top, being careful not to mix the layers. Sprinkle the top with crushed candy canes and return to the refrigerator for 30 minutes to set.8 ounces white chocolate bars, 4 tablespoons crushed candy canes
- Once the bark has set, remove it from the refrigerator and let it stand at room temperature for a few minutes to soften before cutting as the layers can separate or break apart if it's too cold. From there, remove the bark from the pan and place on a cutting board. Using the tip of a sharp knife, cut the bark into pieces. When the tip of the knife is inserted, the bark breaks on its own. Serve and enjoy!
Notes
- Pro tip: Do not allow the dark chocolate layer to set completely before spreading the melted white chocolate over the top as the layers can separate. 10 or 15 minutes of chilling time should be plenty.
- If you’re not a fan of dark chocolate, substitute half of the bittersweet chocolate with semi-sweet chocolate or use all semi-sweet. I don’t recommend using milk chocolate as the bark will be far too sweet.
- You can certainly use chocolate chips in this recipe as a time saver, but I recommend using good quality chocolate bars or baking wafers without additives or preservatives for best results.
- Store unused bark in the refrigerator in an airtight container for up to 2 weeks.
Nutrition
Nutrition is estimated using a food database and is only intended to be used as a guideline for informational purposes.

16 Comments on “Peppermint Bark Recipe”
Oh my gosh, this bark is SO gorgeous, Marcie! So perfect for holiday gifts and I love how super easy it is too! I’d eat the whole batch, no doubt. 😉
Thank you so much, Sarah! I love to give it as gifts but it’s so hard to give away! 🙂
Peppermint bark is a great tradition! I love it because it’s so easy to make but also kinda fancy looking! I hope you have a wonderful Christmas, Marcie!
It is pretty fancy without the fuss! Thanks Izzy, and Merry Christmas to you and your family!
Looks so festive and beautiful, love the recipe!:)
Thank you, Natalia!
Peppermint bark is a favorite of mine! I’ve only made it once before, and I definitely need to do it again because it’s just so easy. I love that you reshot this recipe, too. It’s so fun (and also kind of nerve-wracking) to see how far you’ve come in photos. This looks just perfect, Marcie!
I cringe at my old photos so often and am really trying to fix some up! Thanks, Gayle, and have a great weekend!
Love that you are resharing these! The updated photos SO pretty. Marcie! I’ll take a batch! The peppermint and white collate combo sound perfect for the holidays!
Thanks, Kelly! Little by little I’m trying to “clean-up” my old photos/posts…it’s a never ending battle. lol And I’d love to send you a batch of this! 🙂
Mmmm, I’m all about peppermint! And chocolate! Ha. I’d be happy to get this peppermint bark as a gift! 🙂
I’ll take the hint and send you some Nicole! lol 🙂
I love that you included the old photo for comparison! I’m usually too embarrassed, lol. But my gosh, what a difference. Your photograph has come so far. These photos are gorgeous! I can almost smell the minty chocolate right through the screen! 🙂
I probably won’t always include the old photo as they make me quite embarrassed too! This one wasn’t as bad as some of the photos when I was actually really trying. lol Thanks, Sarah, and Happy Holidays! 🙂
Isn’t it amazing to see how far you’ve come with photos?? I still cringe at my old ones but at the same time love seeing how much progress I’ve made 🙂 ANYWAY peppermint bark is a staple for the holidays! I just finished lunch and would love a piece!
It really amazing, and unfortunately I have plenty more photos to refresh. It’s a never-ending job! lol Thanks, and I wish I could get you a piece Ashley!