Key Lime Cheesecake Bars
Key Lime Cheesecake Bars are thick and creamy with a buttery coconut graham cracker crust. They’re bursting with fresh key lime flavor for the ultimate cheesecake dessert!
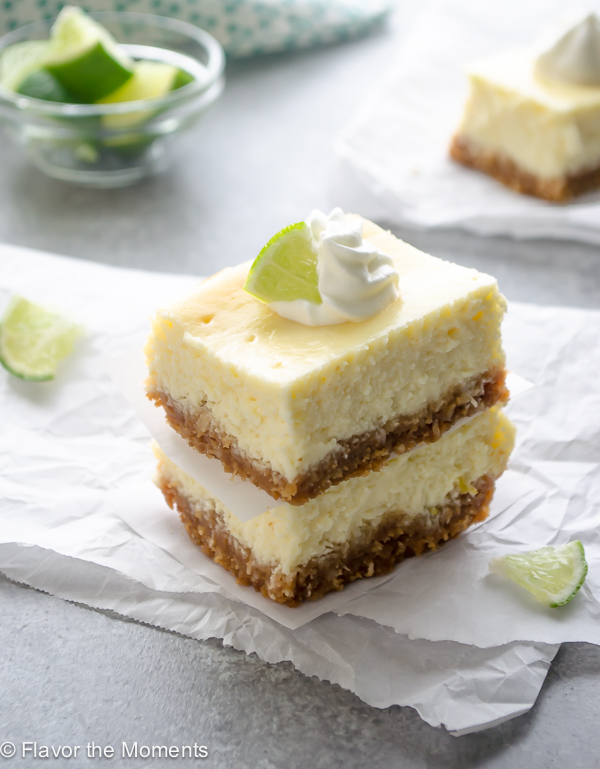
I love cheesecake, but a big slice is too much for me. My mini lemon cheesecakes are a family favorite, but this time I thought baking bars would be even easier.
These Key Lime Cheesecake Bars are creamy, bursting with fresh key lime flavor, and are so easy to make!
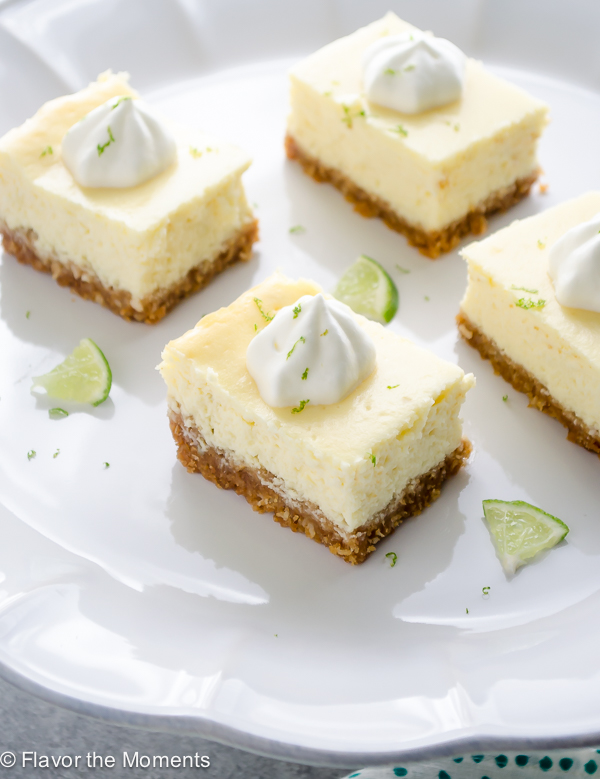
I’m a bit obsessed with key limes which you may be able to tell if you’ve hung around here for a while.
My key lime pie and key lime cookies are staples for special occasions, so every time I see them in the store I grab a bag, juice them, and stick the juice in my freezer for key lime emergencies.
There’s nothing like fresh key lime juice — it’s so much better than the bottled varieties!
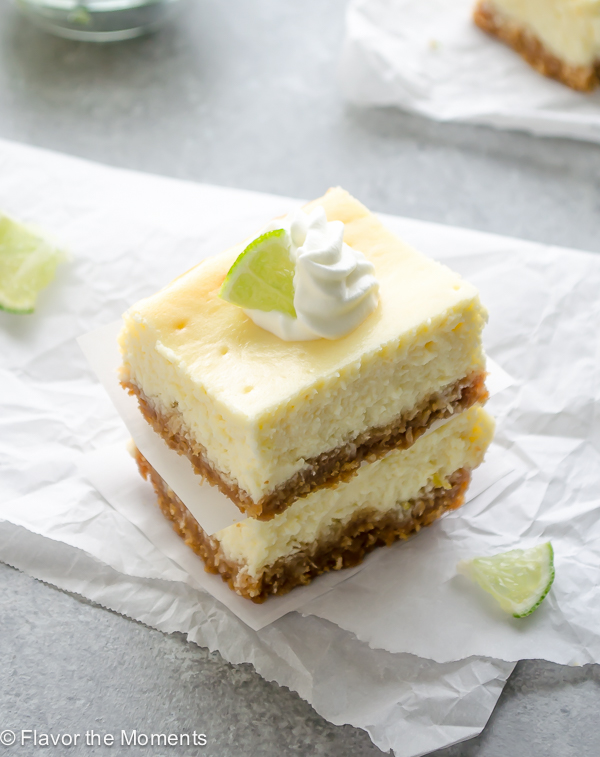
The crust for these key lime cheesecake bars is no ordinary graham cracker crust. It’s complete with macadamia nuts and finely shredded unsweetened coconut added to make it really special.
If you’re not a fan of either, simply omit them and substitute it with an equal amount of more graham cracker crumbs.
These bars came together so quickly, and even if you have to juice the key limes you’ll have this dessert prepped in no time. You’ll have them eaten even faster, because yeah…cheesecake!
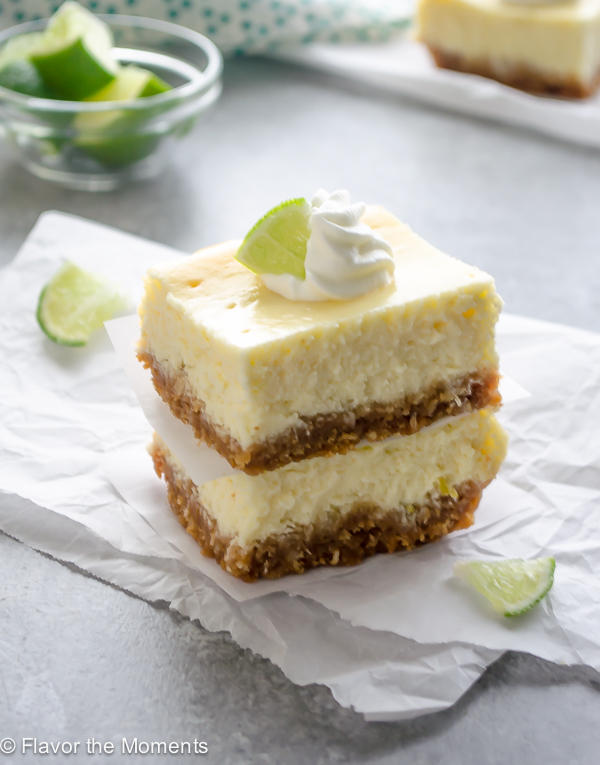
These key lime cheesecake bars are cheesecake without the fuss. They’re creamy with a key lime pop of freshness and a mild coconut-macadamia flavor that takes the crust over the top.
This could be my favorite key lime recipe ever, but I think I say that about all of them. 🙂
Love cheesecake? See all of my Cheesecake recipes.
More key lime recipes to love!
- Coconut Key Lime Angel Food Cake Roll
- Key Lime Cupcakes by Baker by Nature
- Key Lime Dip
Did you try this recipe? If so, be sure to leave a review below and tag me @flavorthemoments on Facebook and Instagram
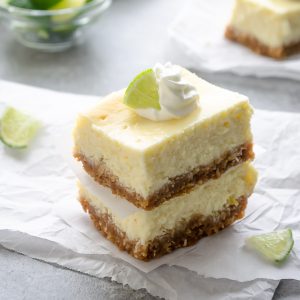
Key Lime Cheesecake Bars with Coconut Macadamia Crust
Ingredients
For the crust:
- 1 cup graham cracker crumbs
- 1/4 cup unsweetened shredded coconut*
- 1/4 cup finely chopped macadamia nuts*
- 1 tablespoon granulated sugar
- pinch of salt
- 6 tablespoons unsalted butter melted
For the filling:
- 16 ounces cream cheese softened at room temperature
- 1 cup granulated sugar
- 4 tablespoons plain Greek yogurt substitute with sour cream
- 2 large eggs room temperature
- 4 tablespoons key lime juice
- 1 tablespoon key lime zest
- 1 teaspoon pure vanilla extract
For the whipped cream:
- 1/2 cup heavy whipping cream
- 2 tablespoons granulated sugar
Instructions
Prepare the crust:
- Preheat the oven to 350 degrees. Line an 8×8" square baking pan with aluminum foil and spray with cooking spray.
- Place the graham cracker crumbs, coconut, macadamia nuts, sugar, and pinch of salt in a small bowl and stir to combine. Add the melted butter and stir until the crumbs are coated well with the butter. Press the crust into the prepared baking dish evenly and bake for 8-10 minutes or until lightly golden brown. Cool on a wire rack while you make the filling.
Prepare the filling:
- In a medium bowl, beat the cream cheese and sugar together at medium speed until smooth, about 1 minute. Add the Greek yogurt , eggs, key lime juice, zest, and vanilla, and beat until combined.
- Pour the filling over the prepared crust and bake for 20-25 minutes or until the filling is set but still a bit jiggly in the center (the filling will set more as it cools). Cool completely on a wire rack then chill in the refrigerator for a minimum of 3 hours.
Prepare the whipped cream:
- Place the heavy cream and sugar in the bowl of a stand mixer and beat at medium high until medium peaks form. Beat by hand a few seconds more until almost stiff. Set aside.
- Grab the ends of the foil and lift the cheesecake from the pan. Cut into bars with a very sharp knife, cleaning the knife with warm water in between slices to get a clean slice. Pipe or dollop the whipped cream on top of the bars, serve, and enjoy!
Notes
- *The coconut and macadamia nuts may be substituted for the same amount of graham cracker crumbs if you don’t have them on hand.
- Pecans are also a great substitute for the macadamias.
Nutrition
Nutrition is estimated using a food database and is only intended to be used as a guideline for informational purposes.


50 Comments on “Key Lime Cheesecake Bars”
Is it necessary to line the pan with foil?
Foil is necessary to keep the bars from sticking.
Has anyone tried these with regular limes? No key limes or key lime juice at our local store. Wanting to make recipe for my daughters 50th birthday! She’s a huge lime lover!
I have substituted key limes with regular limes many times and nobody even notices! Haha
where is your recipe located for the key lime squares?
Hi Emily! It’s at the bottom of the post.
I have no idea why they didn’t thicken either because 1/4 cup is the same as 4 tablespoons…?? At any rate, I’m glad you were able to improvise and give your guests a dessert that loved — way to go!
Yay!! You ladies rock! This was such a fun surprise. And I love the bite-sized theme, so cute. These cheesecakes sound AMAZING! Especially that crust… so yum! XOXO!
I’m glad you liked your virtual shower, Jess — I just wish it could have been in person! 🙂
These bars sound irresistible Marcie – these make me want to go on a tropical vacation!! I love that coconut macadamia nut crust – yum!!
They made me feel like I was on a tropical vacation! haha Thanks, Rachel!
Key lime pie is one of my favorites….and in bar form, with this delicious crust….YUM! Perfect for a baby shower!!
Thank you, Cathy!
These bars look amazing- that coconut macadamia crust really adds to that tropical vibe 🙂 Pinning!
Thanks, Medha, and the crust sure did add to that vibe! 🙂
Your love for key lime and coconut keeps me coming back. Well that and your friendship 🙂 the crust is a must try!
I guess I always do coconut and key lime for virtual baby showers — funny, I did that for yours, too! Thanks so much, Z!
Oh I so wish I had a bar (or two!) to dig into right now! Marcie these look incredible.That crust!
I’d love to share a couple with you Alyssa! 🙂
Wish I could grab a bar rigjt now. Looks amazingly delicious. YUMMY!
I’d love to share! 🙂