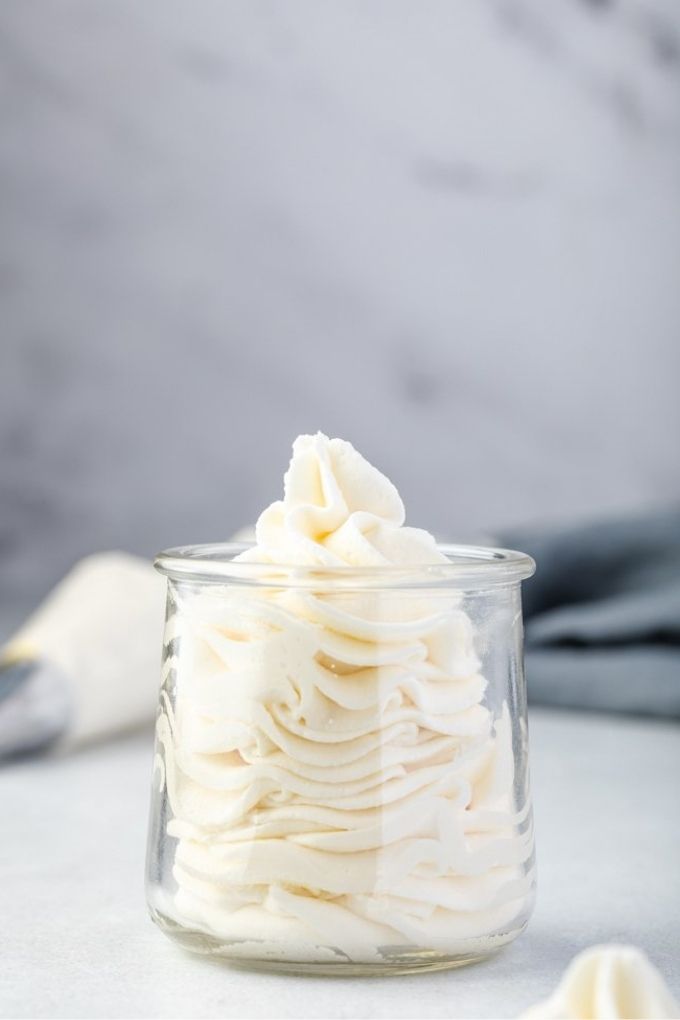
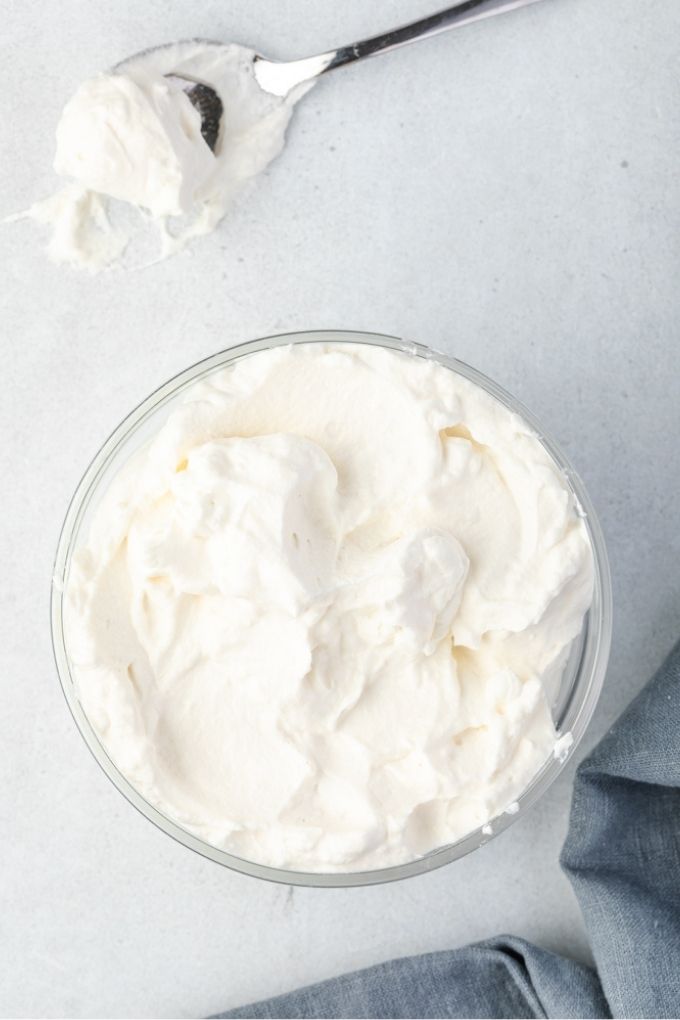
Stabilized Whipped Cream
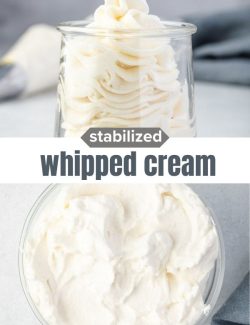
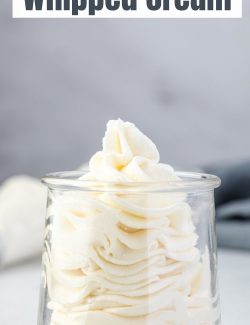
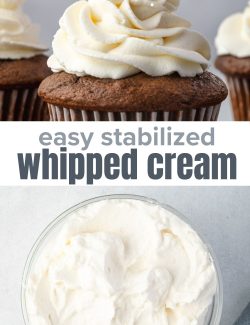
Learn how to make perfect Stabilized Whipped Cream in just a few simple steps! It holds its shape for up to 2-3 days so it makes a great frosting for cakes, piping onto pies and more!
I consumed a lot of Cool Whip in my younger years, and had no idea what homemade whipped cream tasted like until much later in life.
Admittedly, it tasted strange to me at first because it tasted so fresh, but I got used to it very quickly and never looked back.
Now you won’t catch me using anything else to top desserts like my lemon pudding cake or pumpkin pie bars. I spend a lot of time making desserts from scratch and they deserve the best!
The problem is that homemade whipped cream doesn’t contain any preservatives or stabilizers, so it weeps or separates after a period of time.
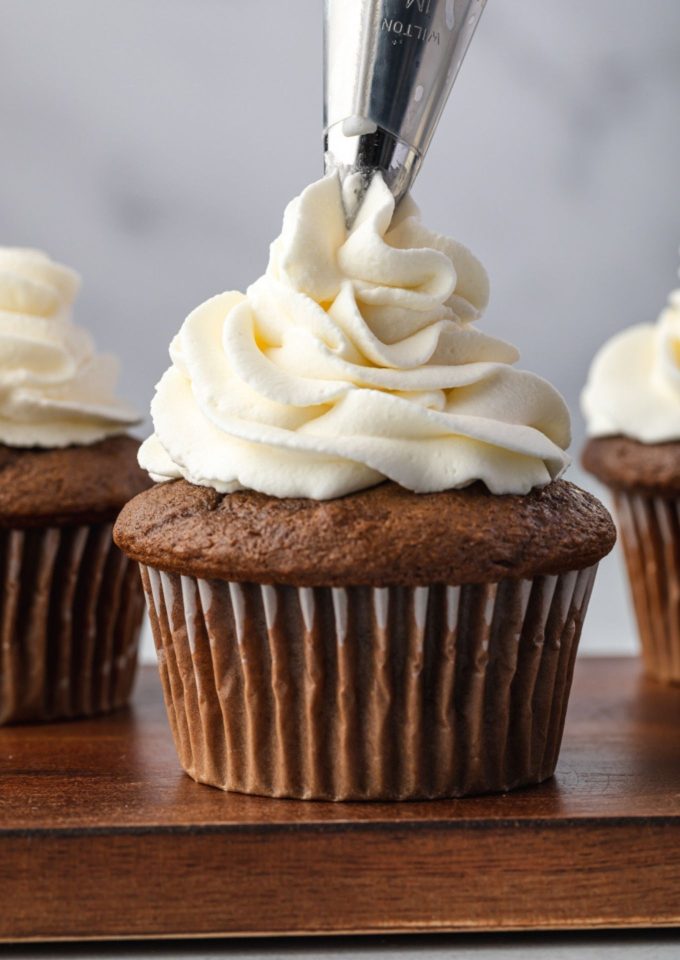
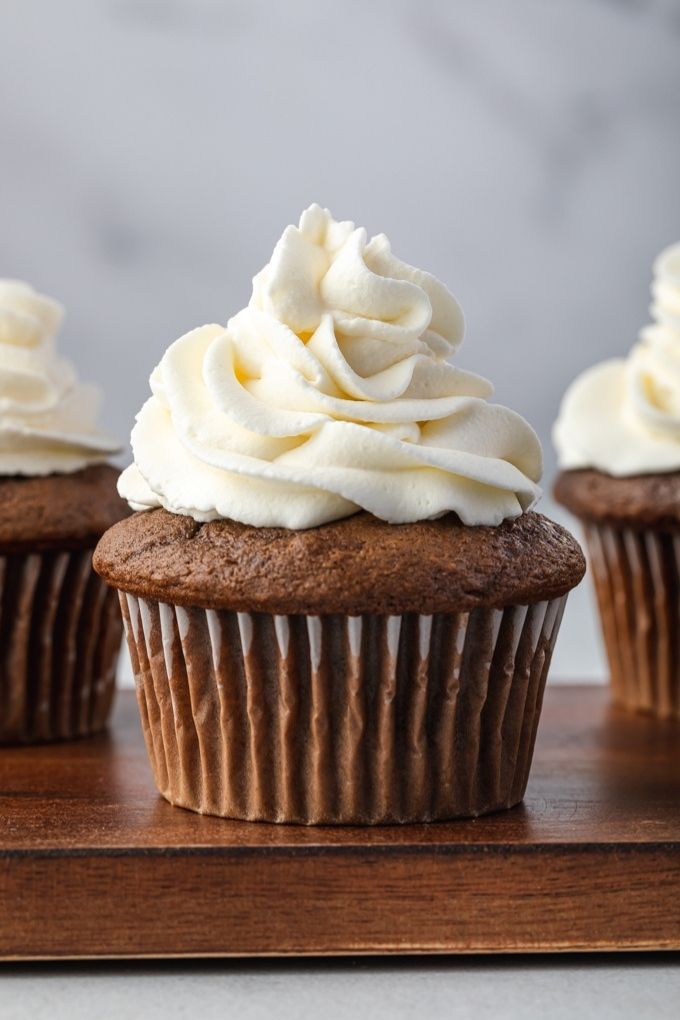
That’s where this Stabilized Whipped Cream recipe comes in. It holds it’s shape for a few days, so I can pipe it onto my banana cream pie and mini lemon cheesecakes well before I plan to serve them!
If you want to try a dairy-free dessert topping, be sure to try my coconut whipped cream recipe!
Why you’ll love this recipe
- Stabilized whipped cream is light and fluffy with freshness you can taste.
- It holds its shape for days so it can be made entirely in advance.
- It’s an easy, delicious frosting for cakes or topping for desserts.
- It can be flavored a number of ways with extracts, citrus, cocoa powder, etc.
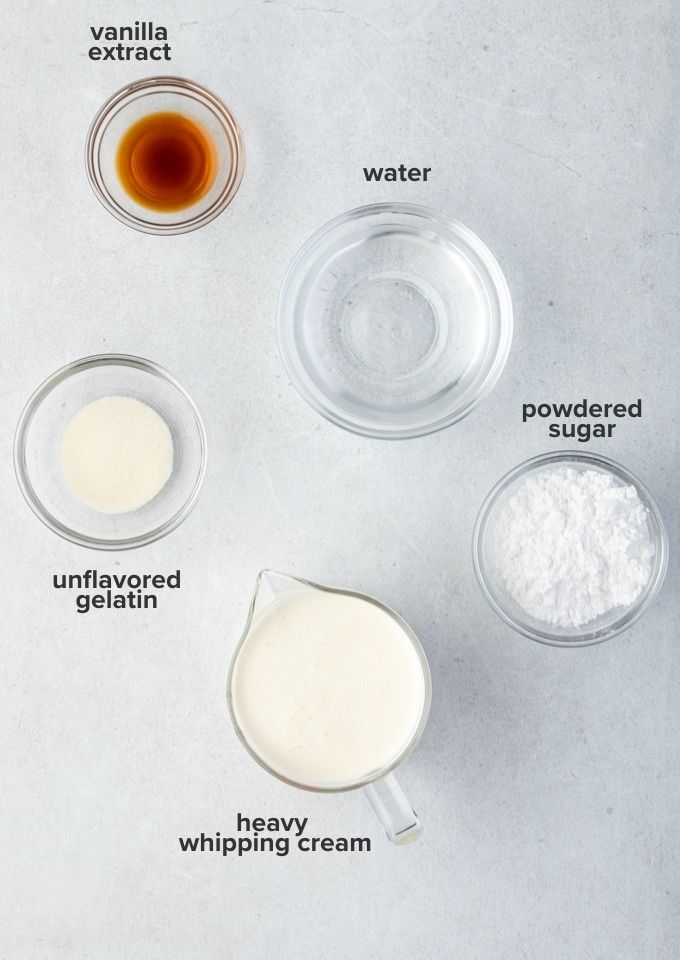
Recipe ingredients
There are just a few basic ingredients included in this stabilized whipped cream frosting.
Ingredient notes
- Heavy whipping cream. The best cream to use in this recipe is heavy whipping cream or heavy cream as they both contain about 36% fat. The high fat content makes them great for whipping.
- Unflavored gelatin. The gelatin is used to stabilize the whipped cream. Be sure that it’s fresh and unflavored.
- Powdered sugar. This type of sugar includes cornstarch, which helps stabilize the whipped cream even more. Granulated sugar may be used, but sometimes it doesn’t dissolve as well. I’ve used Swerve powdered sugar with great results if you want to make this recipe keto-friendly.
- Vanilla extract. The vanilla extract may be substituted with vanilla bean paste, or your favorite extract such as lemon or peppermint. You can also use a tablespoon or two of bourbon or your favorite alcohol.
How to stabilize whipped cream
This recipe is beyond easy to make following the simple steps below.
Pro tips: The most important thing for recipe success is to refrain from heating the bloomed gelatin too long in the microwave. It should be melted but not hot as a high temperature can cause it to clump when it’s added to the cream.
See the recipe card below for full instructions.
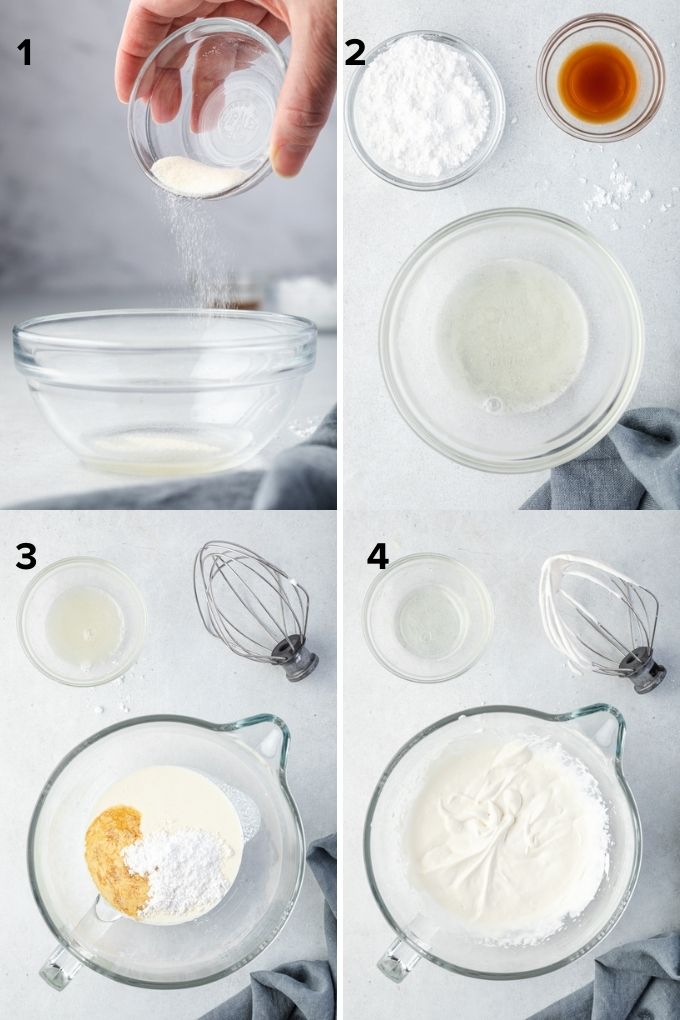
- Slowly sprinkle the gelatin over the cold water, adding more as it’s absorbed into the water. Let stand 10 minutes until bloomed.
- Once bloomed, heat the gelatin in the microwave for 5-8 seconds until melted. Do not overheat!
- Place the heavy whipping cream, powdered sugar and vanilla in a large bowl.
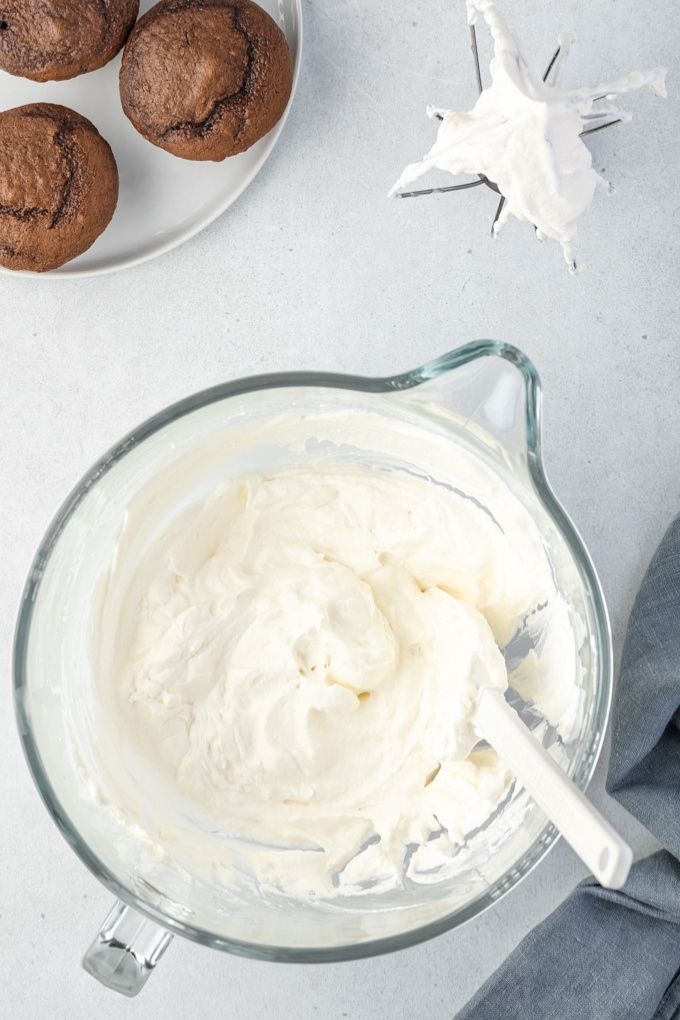
- Beat on low speed until soft peaks form, then increase the speed to medium and add the gelatin in a slow, steady stream until incorporated. Continue to beat until stiff peaks form.
Recipe FAQs
Adding gelatin to whipped cream helps stabilize it and keep it from weeping or separating. It holds it’s shape for a few days, which enables you to pipe it onto cakes, pies and desserts in advance.
Unflavored gelatin is used in stabilized whipped cream, and it does not change the flavor. It still has a fresh homemade flavor but it holds it’s shape much better.
The glory of stabilized whipped cream is that it doesn’t weep or separate, so it may be made in advance. It’s a great option for frosting cakes, piping onto pies, cheesecake and more!
The cream will keep in an air tight container in the refrigerator for about 3 days.
Recipe tips
- Pro tip: The most important thing for recipe success is to refrain from heating the bloomed gelatin too long in the microwave. It should be melted but not hot as a high temperature can cause it to clump when it’s added to the cream.
- I prefer my whipped cream to be mildly sweet. If you like yours on the sweeter side, add 1-2 more tablespoons of powdered sugar.
- Recipe yields about 2 cups of stabilized whipped cream.
- The cream will hold its shape for up to 3 days in an air tight container in the refrigerator.
- If you pipe or frost your desserts with whipped cream, be sure to refrigerate them as it’s perishable.
Serve this recipe with the following desserts:
Did you try this recipe? If so, be sure to leave a review below and tag me @flavorthemoments on Facebook and Instagram

Stabilized Whipped Cream
Ingredients
- 4 teaspoons cold water
- 1 teaspoon unflavored gelatin
- 1 cup cold heavy whipping cream
- 2.5 tablespoons powdered sugar granulated sugar may be used but it doesn't dissolve as well; use Swerve powdered sugar for a keto-friendly option
- 1 teaspoon pure vanilla extract sub with vanilla bean paste or your favorite extract
Instructions
- Place the water in a bowl and sprinkle the gelatin slowly and evenly over the water, allowing the gelatin to be absorbed by the water before adding more. Let stand 10 minutes until the gelatin has softened or "bloomed".4 teaspoons cold water, 1 teaspoon unflavored gelatin
- Microwave the bowl of gelatin for 5-8 seconds just until the gelatin has melted and stir well. You can tell when the gelatin has melted as it will be clear.
- Place the heavy whipping cream, sugar and vanilla in the bowl of a stand mixer fitted with the whisk attachment, or use a large bowl with a hand mixer. Whip the cream on medium speed until soft peaks form. Reduce the speed to low and add the gelatin in slow steady stream. Increase the mixer speed to medium once more and continue to beat until stiff peaks form, being careful not to over mix.1 cup cold heavy whipping cream, 2.5 tablespoons powdered sugar, 1 teaspoon pure vanilla extract
- Pipe or frost cakes and pies, or dollop onto cheesecakes or fruit crisps. Enjoy!
Notes
- Pro tip: The most important thing for recipe success is to refrain from heating the bloomed gelatin too long in the microwave. It should be melted but not hot as a high temperature can cause it to clump when it’s added to the cream.
- I prefer my whipped cream to be mildly sweet. If you like yours on the sweeter side, add 1-2 more tablespoons of powdered sugar.
- Recipe yields about 2 cups of stabilized whipped cream.
- The cream will hold its shape for up to 3 days in an air tight container in the refrigerator.
- If you pipe or frost your desserts with whipped cream, be sure to refrigerate them as it’s perishable.
Nutrition
Nutrition is estimated using a food database and is only intended to be used as a guideline for informational purposes.

2 Comments on “Stabilized Whipped Cream”
Can I use instant clear gel in place of the unflavored gelatin?
Sorry but I can’t say for sure as I’ve never used this product.