Key Lime Cheesecake Bars


These Key Lime Cheesecake Bars feature a buttery graham cracker crust and creamy cheesecake filling with the refreshing flavor of key lime. This is an easy make ahead dessert that comes together with minimal prep!
I fell in love with key limes the first time I made classic key lime pie. Juicing all of those tiny limes felt like a labor of love, but it was totally worth it.
Key limes have a bold, citrusy flavor that’s slightly sweeter than regular limes, with a floral flavor that really sets them apart.
I have been making mini lemon cheesecakes for years, and decided to try a variation with key limes. These Key Lime Cheesecake Bars were born, and I’m so glad that I have another delicious way to use them.
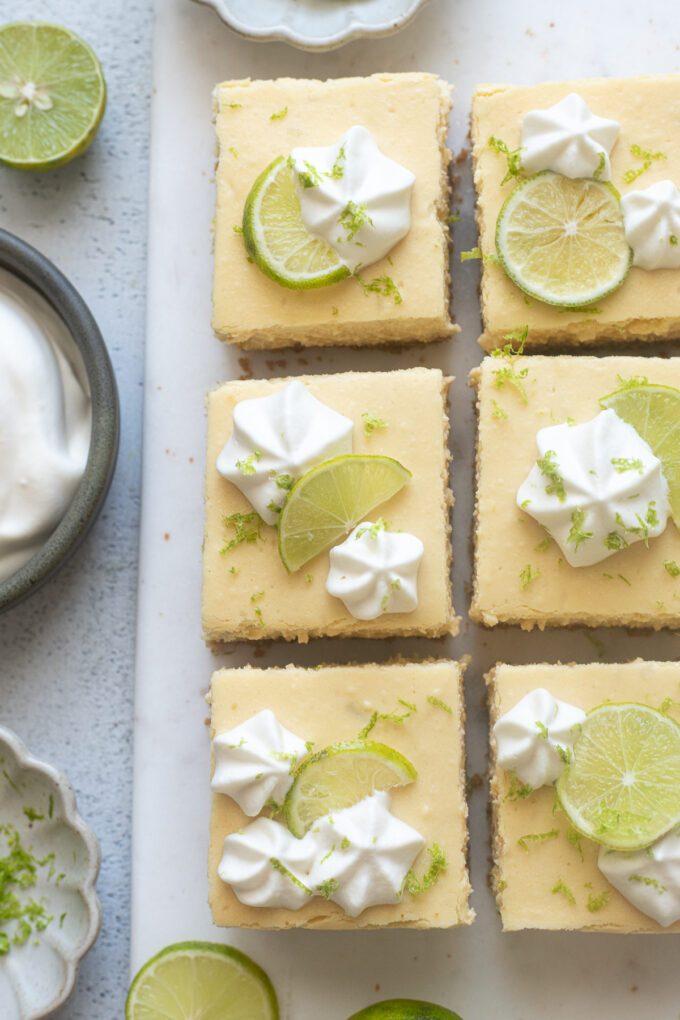
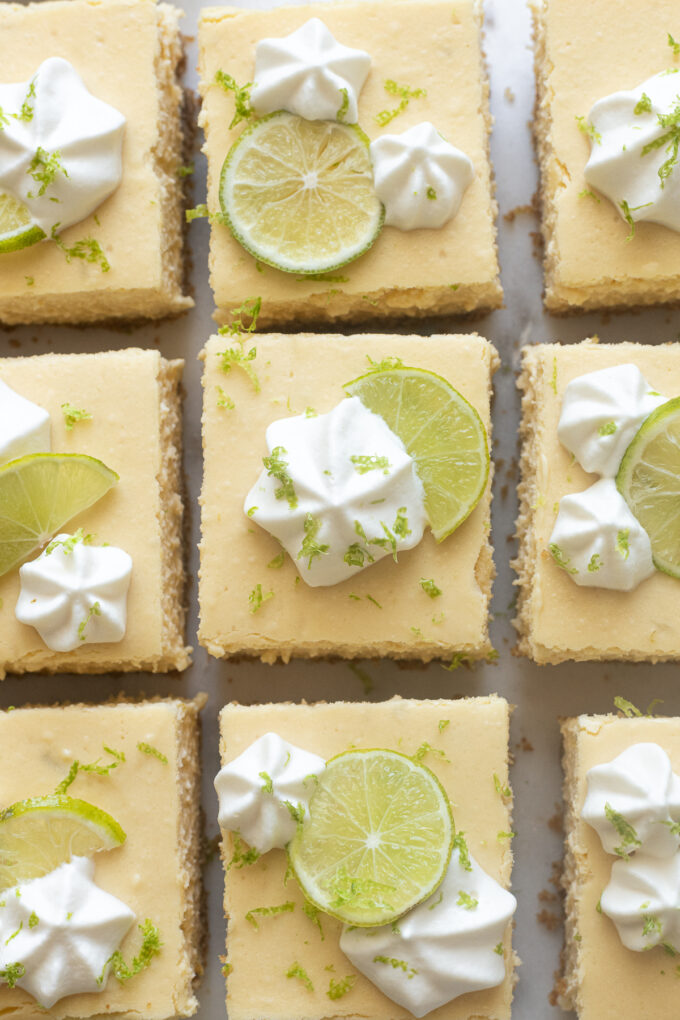
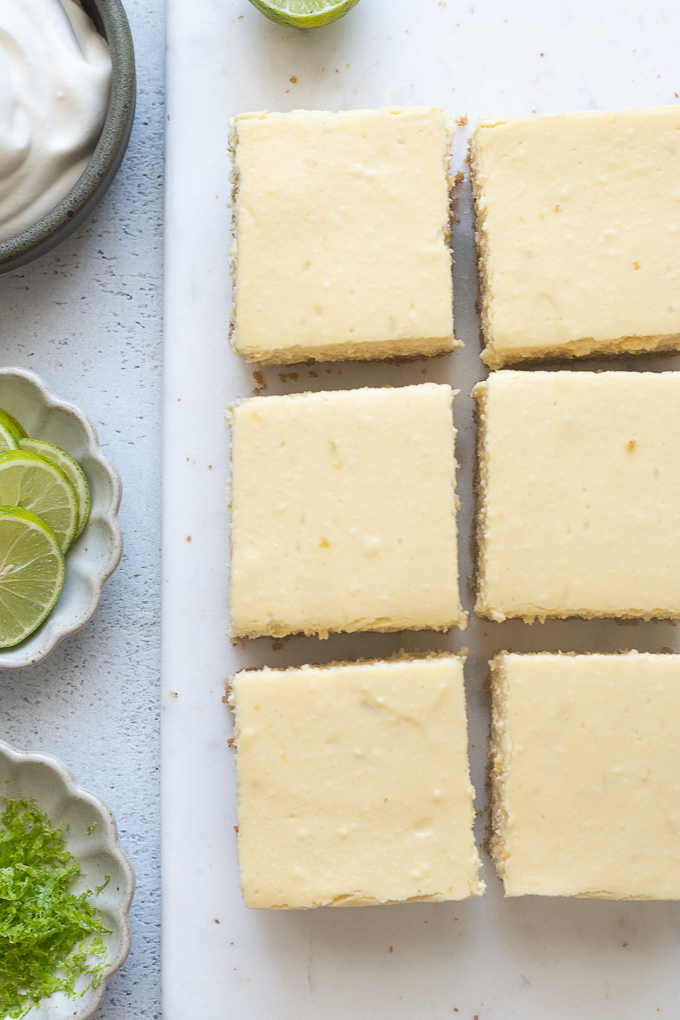
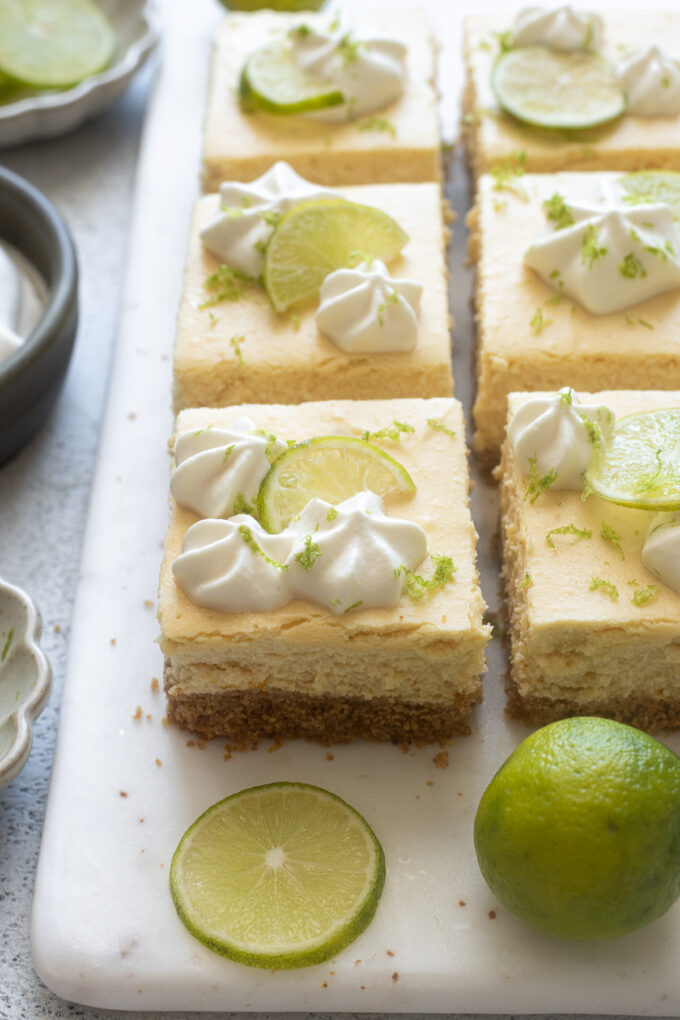
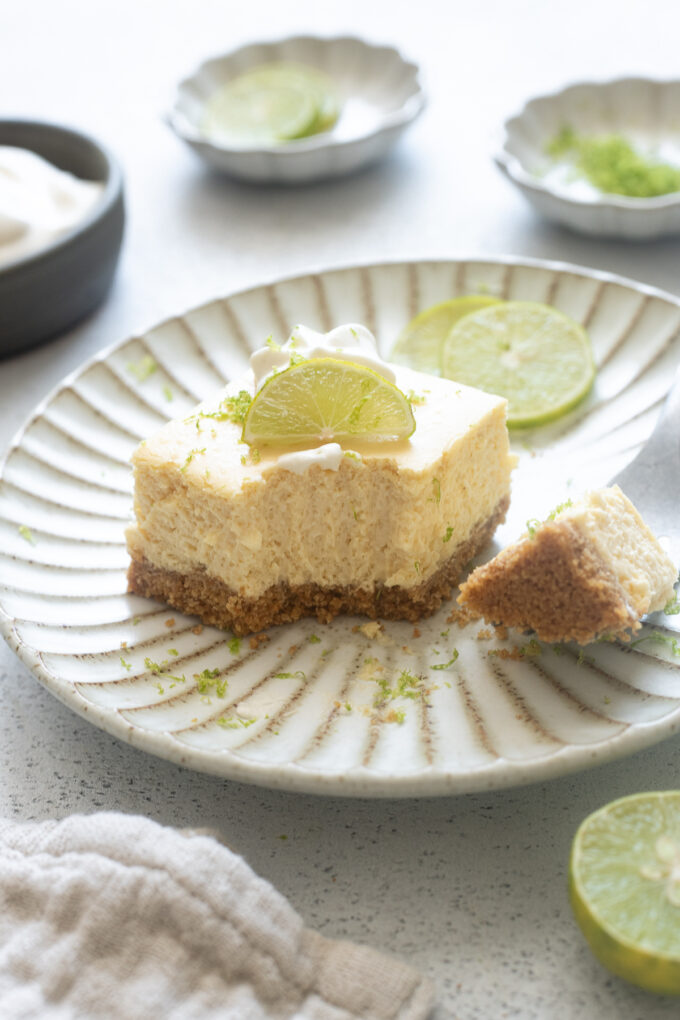
These bars start with a buttery, press-in graham cracker crust that’s baked until golden brown. The tangy, sweet cheesecake filling is the perfect contrast, especially with the bright flavor of key lime zest, juice and pure vanilla extract.
They’re topped off with homemade whipped cream for the ultimate key lime dessert. I love topping them with additional key lime zest and slices to make them extra festive.
The glory of this recipe is that it can be made completely in advance, and it takes just 20 minutes to prep. 🙂
If you don’t want to turn on the oven, be sure to try these mini no bake cheesecakes. They’re perfect for summer!
Why you’ll love this recipe
- These key lime cheesecake bars are cheesecake without the fuss. They take just 20 minutes to prepare and there’s no water bath needed when baking them!
- They’re creamy and decadent with a pop of freshness from key lime and a buttery, graham cracker crust.
- You can easily make this recipe gluten-free by using gluten-free graham crackers.
- It’s a fabulous make ahead dessert that’s ideal for spring and summer gatherings.
Recipe ingredients
There are three simple components to this recipe: the graham cracker crust, the cheesecake filling, and the whipped cream topping.
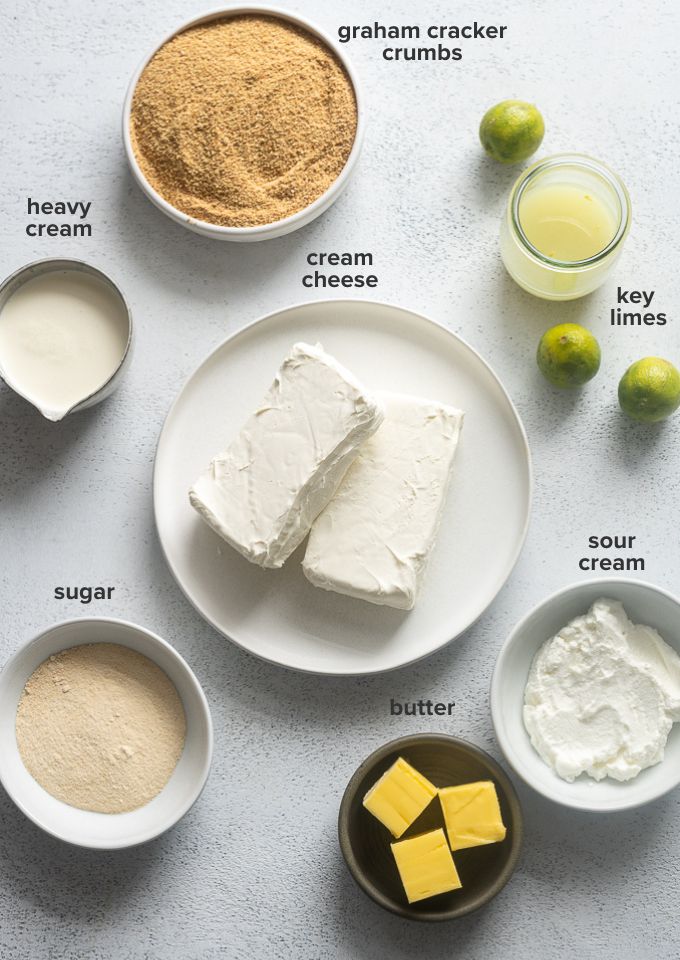
- Graham cracker crumbs. You can either purchase pre-made graham cracker crumbs or crush full sheets of graham crackers yourself using a food processor. Use your favorite gluten-free graham crackers or cookies to make the crust gluten-free.
- Unsalted butter. Binds the crust together and provides rich, buttery flavor. If using salted butter, omit the pinch of salt from the crust.
- Cream cheese. Use full-fat cream cheese for the richest, creamiest cheesecake filling.
- Sour cream. Adds a tangy flavor and helps loosen up the cream cheese. Sub with plain Greek yogurt as desired.
- Key limes. Zest and juice the key limes in advance and even freeze it for a time saver. If you can’t find key limes, sub them with regular limes, lemons or even orange.
- Eggs. Provides structure to the filling.
- Whipped cream. Prepare my homemade whipped cream for the perfect topper, or use your favorite store bought brand.
See the recipe card below for the full list of ingredients and quantities.
How to make these easy cheesecake bars
You won’t believe how easy these cheesecake bars are to make. They take just 20 minutes to prepare, and you can speed the process up by zesting and juicing the key limes up to a few days in advance.
Pro tip: Bring the cream cheese, sour cream and eggs to room temperature to create the creamiest, smoothest filling.
See the recipe card below for full instructions.
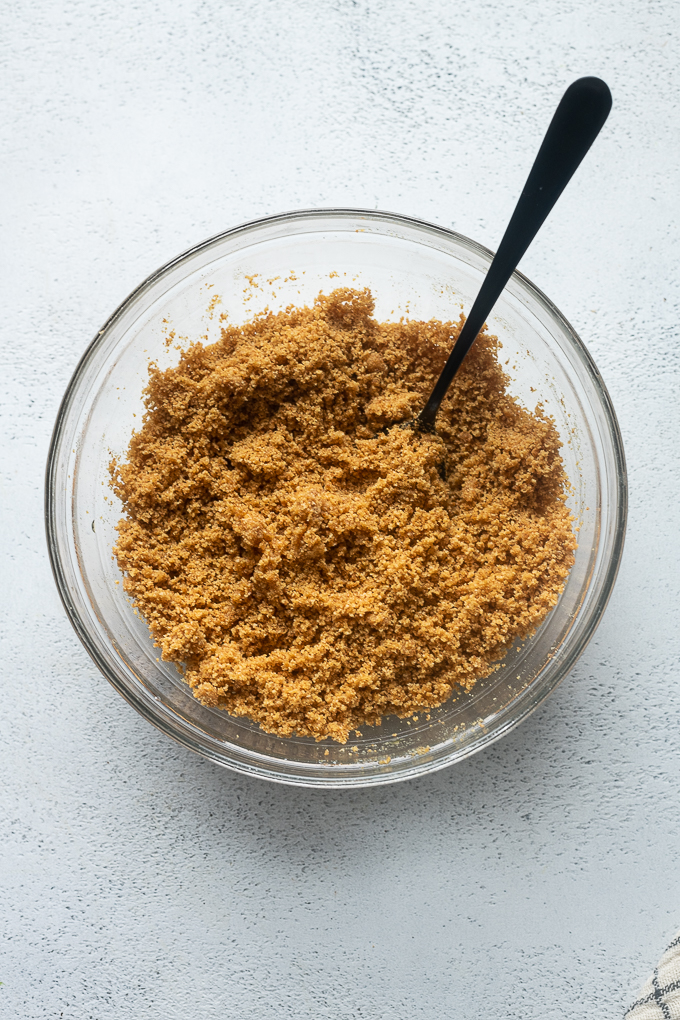
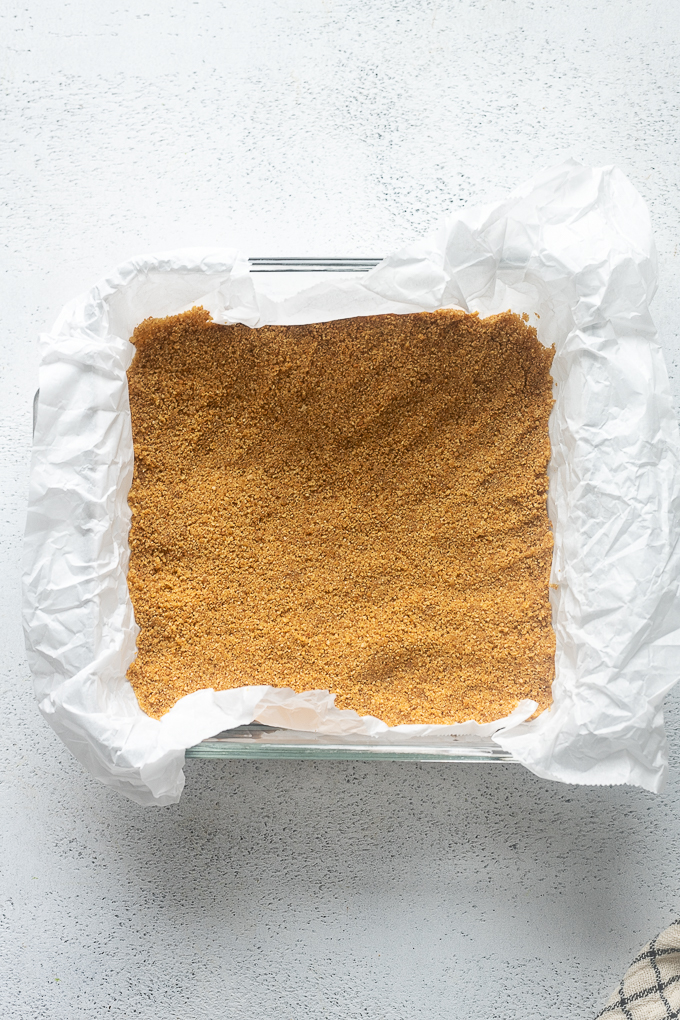
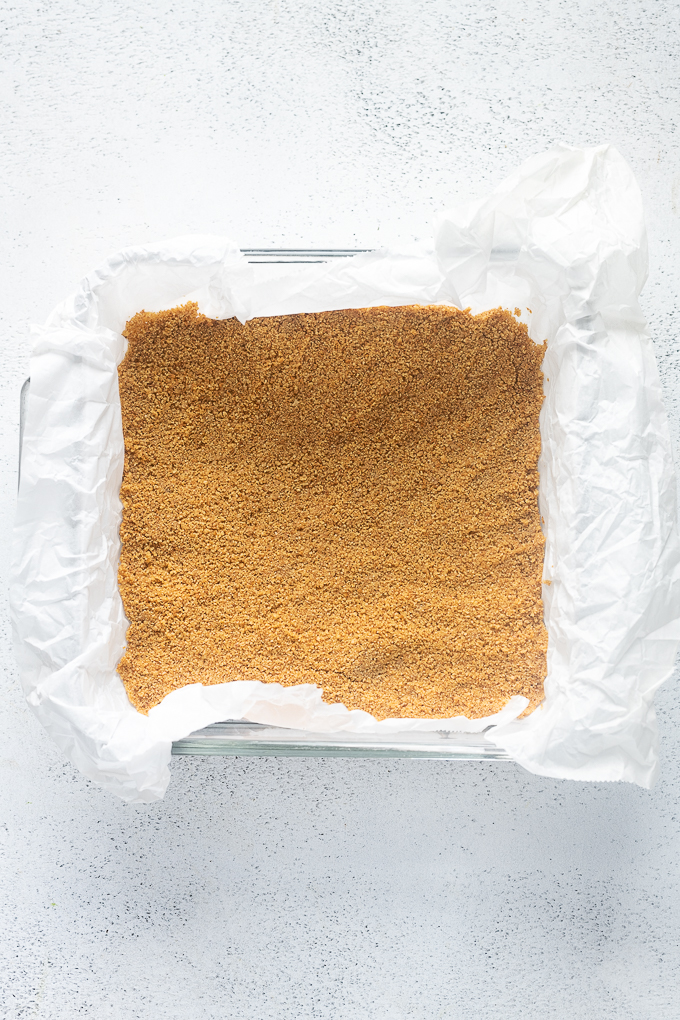
Prepare the graham cracker crust
Be sure to pack the crumbs in tightly and evenly in the parchment or foil lined 8 x 8″ baking dish.
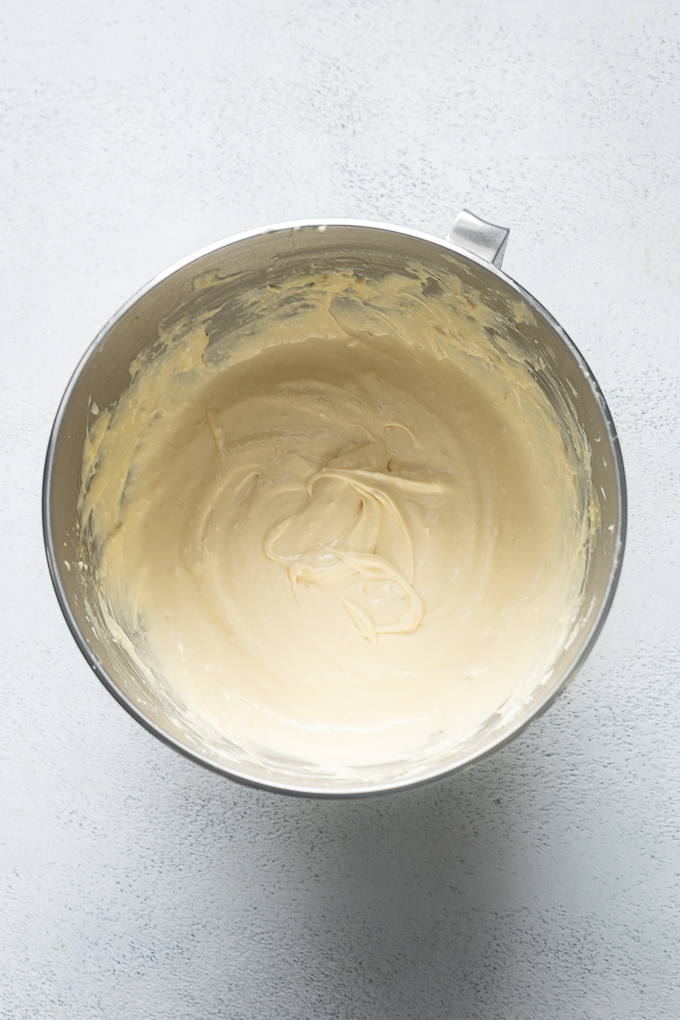
Prepare the cheesecake filling
Place the cream cheese, eggs and sour cream on the counter for about one hour to bring them to room temperature before making the filling.
Recipe FAQs
Key lime juice is slightly more citrusy, sweet and floral in flavor than regular lime juice, but if you only have regular (Persian) limes on hand, those will work great in this recipe as well.
Since the cheesecake bars have to chill for at least 3 hours before being sliced and served, they’re a great make-ahead dessert option for potlucks and holiday gatherings.
Wrap the pan tightly with plastic wrap or transfer the cheesecake bars to an airtight container. They’ll last 3 to 5 days in the fridge.
Recipe variations
- Replace the graham crackers with crushed Nilla Wafers or Golden Oreos for a different flavor profile.
- Use gluten-free graham cracker crumbs to make this recipe gluten-free.
- If preparing this recipe in advance, make a batch of stabilized whipped cream instead of regular whipped cream. You can pipe it over the bars and it will hold its shape.
- For even more lime flavor, top the bars with homemade lime curd.
Recipe notes
- Pro tip: Bring the cream cheese, sour cream and eggs to room temperature to create the creamiest, smoothest filling.
- Zest and juice the key limes up to a few days in advance to make this recipe go even more quickly.
- Sub the key limes with regular Persian limes, lemons or even oranges.
- If preparing these bars in advance, wait until you’re ready to serve to make the whipped cream since it deflates quickly in the fridge. Or, make a batch of stabilized whipped cream, which holds its shape for a couple days if stored correctly.
More key lime desserts you’ll love
Did you try this recipe? If so, be sure to leave a review below and tag me @flavorthemoments on Facebook and Instagram

Key Lime Cheesecake Bars
Ingredients
For the crust:
- 1.5 cups graham cracker crumbs
- 3 tablespoons granulated sugar
- 1/8 teaspoon salt
- 6 tablespoons unsalted butter melted
For the filling:
- 16 ounces cream cheese softened to room temperature
- 1 cup granulated sugar
- 4 tablespoons sour cream room temperature; sub with plain Greek yogurt
- 2 large eggs room temperature
- 1.5 tablespoons key lime zest
- 1/3 cup fresh key lime juice
- 2 teaspoons pure vanilla extract
- homemade whipped cream, for serving optional
Instructions
Prepare the crust:
- Preheat the oven to 350 degrees. Line an 8×8" square baking pan with parchment paper or aluminum foil.1.5 cups graham cracker crumbs, 3 tablespoons granulated sugar, 1/8 teaspoon salt, 6 tablespoons unsalted butter
- Place the graham cracker crumbs, 3 tablespoons sugar, and pinch of salt in a small bowl and stir to combine. Add the melted butter and stir until the crumbs are coated well with the butter. Press the crust evenly over the bottom of the prepared baking dish and bake for 10 minutes or until lightly golden brown. Cool on a wire rack while you make the filling. Reduce the oven temperature to 325 degrees.
Prepare the filling:
- In a medium bowl, beat the cream cheese and sugar together at medium speed until smooth, about 1 minute. Add the sour cream, eggs, key lime juice, zest, and vanilla, and beat until smooth and well incorporated.16 ounces cream cheese, 1 cup granulated sugar, 4 tablespoons sour cream, 2 large eggs, 1/3 cup fresh key lime juice, 2 teaspoons pure vanilla extract
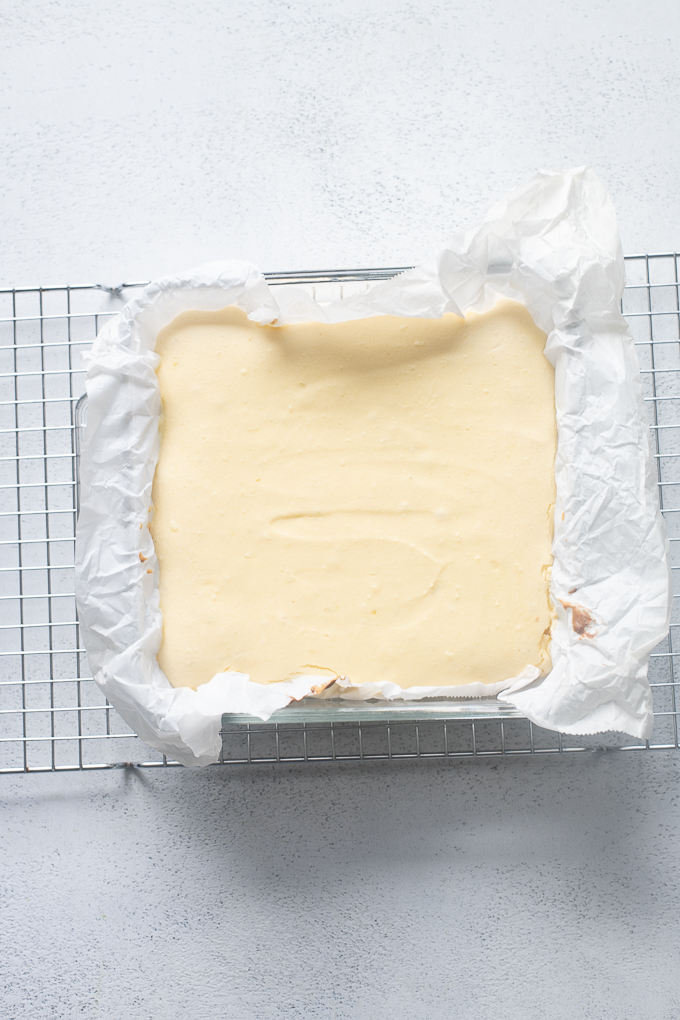
- Pour the filling over the prepared crust and bake for 30-40 minutes or until the filling is set but still a bit jiggly in the center (the filling will set more as it cools). Begin checking for doneness after 30 minutes as all oven times vary.
- Cool completely on a wire rack, then chill in the refrigerator for a minimum of 3 hours.
- Once cooled, grab the ends of the foil and lift the cheesecake from the pan. Cut into bars with a very sharp knife, cleaning the knife with warm water in between slices to get a clean slice. Pipe or dollop whipped cream on top of the bars, then serve and enjoy!homemade whipped cream, for serving
Notes
- Pro tip: Zest and juice the key limes in advance and store in the refrigerator until you’re ready to make the bars.
- If preparing these bars in advance, wait until you’re ready to serve to make the whipped cream since it deflates quickly in the fridge. Or, make a batch of stabilized whipped cream, which holds its shape for a couple days if stored correctly.
- Sub the key lime juice with your favorite citrus! Lemons, oranges and limes will all work perfectly.
- Store the bars in the refrigerator for up to 5 days.
Nutrition
Nutrition is estimated using a food database and is only intended to be used as a guideline for informational purposes.

52 Comments on “Key Lime Cheesecake Bars”
That coconut macadamia crust! LOVE! I’ve actually never used key limes – because I always think the regular ones can’t be much different and then I don’t have to juice so many of them! I guess I’ll have to actually try them! This cheesecake looks fantastic!
I used to think that too, Stacey — in a pinch regular limes work (key limes are more mild). Thanks so much, and have a great weekend!
wow Marcie, these sound absolutely delicious! That crust sounds amazing!! yum yum!
Thanks so much, Manali! 🙂
What a great treat for a baby shower! The crust looks amazing!
Thank you, Laura!
Thank you so much, Marcie!!! And these look absolutely amazing! Cheesecake is one of my favorites and I’ve been loving citrus lately so these are pretty much perfect! Now, if only I could reach through the screen and grab a few, haha!
You’re so welcome, Izzy — you’re going to make the best mom! 🙂 I wish I could hand you a few through the screen…the only thing better would have been to do this shower in person!
You had me at key lime…haha! These look SO good! Love that crust!
Thanks, Denise! Key lime can do no wrong in my eyes!
That macadamia crust!!! Oh my, that sounds heavenly!! As do the bars as a whole! Congrats to all the ladies!! And happy weekend Marcie!
Thanks, Ashley, and have yourself a great weekend as well! 🙂
I’ve never tried baking with key limes but I trust you when you say it makes a big difference. Also, I am DROOLING over that crust! Holy yum. I wish I could sit on the beach with one of these right about now. 😉
Congrats to all of the mamas!!
Thanks, Sarah! The crust was pretty screamin’ — I could have eaten all with a spoon, really. 🙂 Hope you’re having a great week!
Wow!! These look amazing! I just adore macadamia nuts…and coconut…and lime. Actually I am kind of obsessed with this whole thing! 🙂
Thanks so much, Annie! I was heaven with these! 🙂
I had a little crust leftover and I totally ate it with a spoon! haha Thanks, Dannii!
Huge key lime pie fan here!! Love that you made cheesecake bars with that flavor. And the coconut macadamia crust sounds wonderful!
Thank you, Jen — these give key lime pie a run for it’s money for sure. 🙂
I think the size of these is just fine! But maybe I have a big mouth and an over-active sweet tooth. Ha ha ha! These bars have me dreaming of summer! They look great, Marcie!
I have a big mouth, too, so there’s that, plus if they’re smaller you’re going to eat 2 anyway, right? That’s my logic. 🙂 Thanks, Liz, and these totally put me in the spring/summer mood!
These bars look incredible, Marcie! I am such a big key lime pie fan but in bar form and a cheesecake twist sounds even better! Love the macadamia coconut crust too! Perfect for a baby shower!
Thanks, Kelly! This was one of my favorite combinations ever. 🙂
Oh my goodness, DROOL-FEST! I love key lime pies, but these bars are taking it to whole new levels of YUM, Marcie!! Seriously, I couldn’t make these for a baby shower, because I would eat them all! 😉 LOVE the key lime meets cheesecake plus coconut and macadamia nut combo! So much deliciousness going on here. I want to stuff my face with these bars, pronto! Pinned! Cheers! <3
Since this was a virtual shower it meant that we got to eat them all! haha Thanks so much, Cheyanne!
I’m a total sucker for key lime pie, but then to throw cheesecake into the mix?? And that glorious coconutty crusty??? All my self-control is gone. These bars look unbelievably awesome, Marcie!!
My self-control was gone, too, Sarah — believe me! haha Thanks so much!
These bars are so pretty, Marcie! I don’t think I’ve ever had key lime cheesecake before. I love the beautiful presentation with the lime on top! Such a fun and delicious treat for a baby shower!
Thanks so much, Gayle! 🙂