Red Velvet Cupcakes
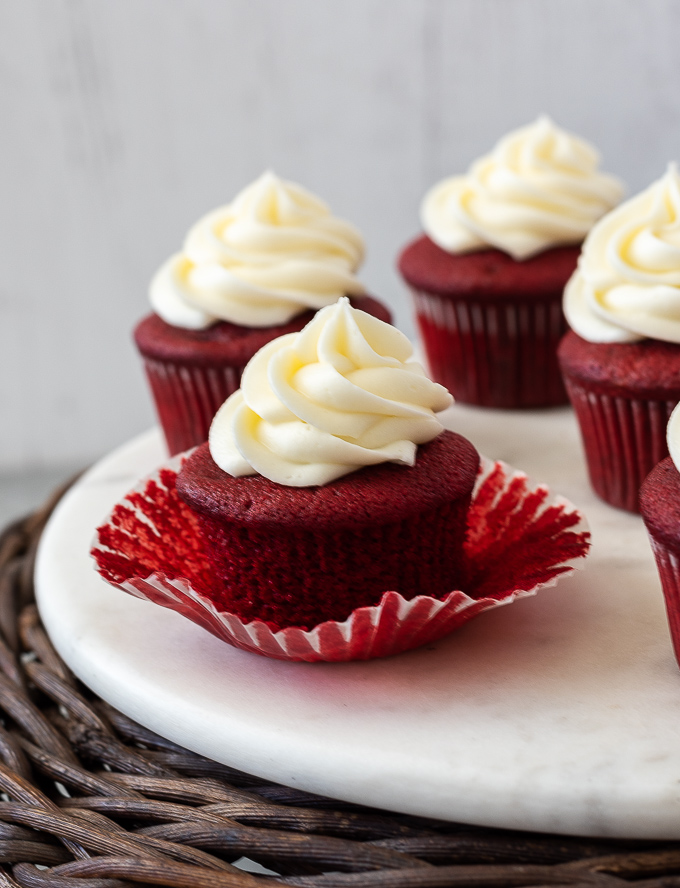
The signature red hue of these Red Velvet Cupcakes may set them apart, but it’s the flavor that makes them truly special. They have the perfect balance of chocolate and vanilla flavor, which is perfectly complemented with sweet, tangy cream cheese frosting. This classic cupcake is worthy of any occasion!
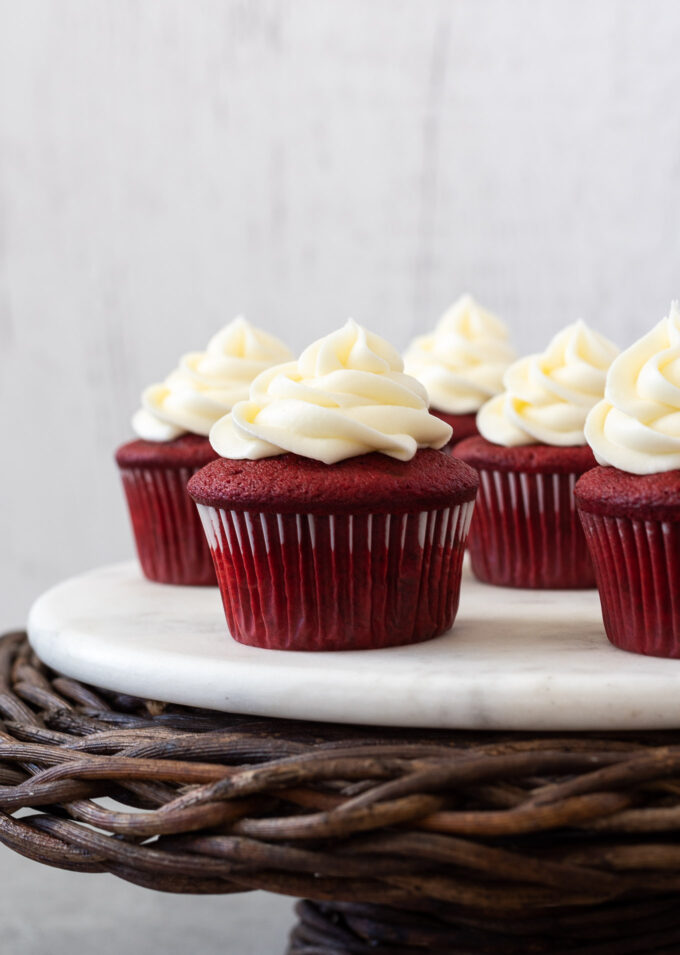
For the longest time I didn’t understand the hype surrounding Red Velvet Cupcakes. I finally got around to making them many years ago because my curiosity got the best of me, and after one bite I finally understood the hype.
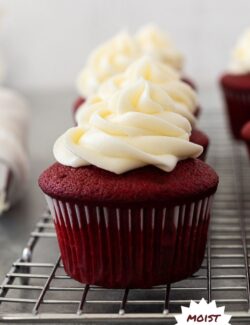
The deep red hue and white creamy swirls of cream cheese frosting are the signature of classic red velvet cake, and the flavor is unlike any cake I’ve ever tasted.
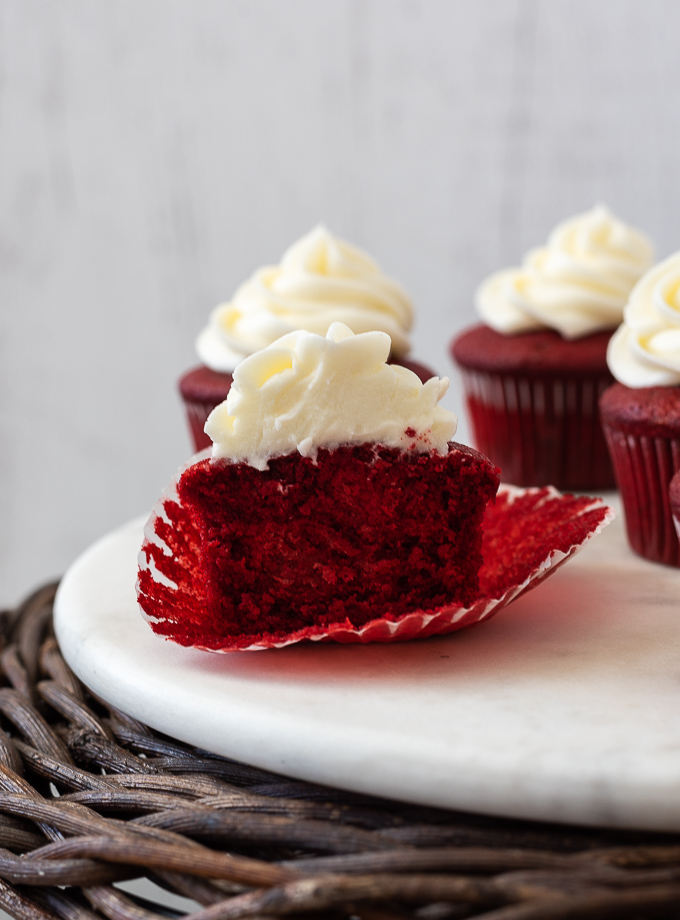
The cupcakes are basically vanilla with a bit of cocoa powder to give them a subtle chocolate flavor as well. The flavors pair perfectly with the tangy cream cheese frosting!
I love red velvet flavors so much that I also created red velvet brownies and red velvet macarons so that I can enjoy them in a variety of ways.
A girl needs options. 🙂
Table of contents
Why you’ll love this recipe
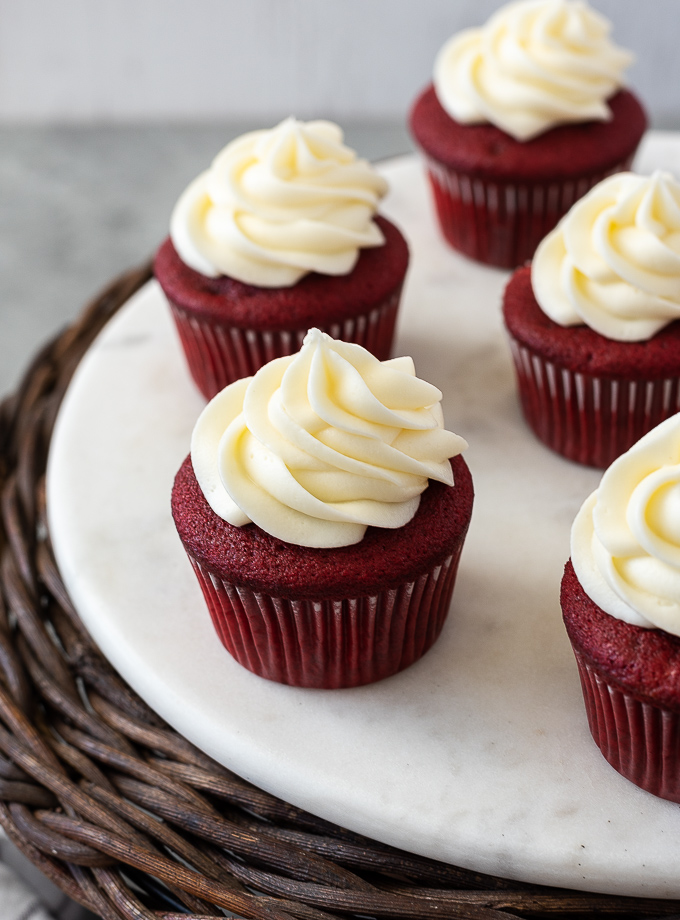
- Red velvet cupcakes are light and fluffy, with the perfect combination of chocolate and vanilla flavor and a sweet, tangy cream cheese frosting.
- They’re easy to make and take about 30 minutes of prep time.
- They’re festive, delicious and perfect for Valentine’s Day, Christmas or any special occasion.
Recipe ingredients
- All purpose flour. No cake flour is necessary for these red velvet cupcakes. They come together with all purpose flour, which you probably already have in your pantry.
- Cocoa powder. A bit of cocoa powder gives these cupcakes the mild chocolate flavor that they’re known for. The cocoa powder is also responsible for the deep red hue.
- Salt. Enhances the flavors in the cupcakes and balances out the sweetness.
- Unsalted butter. It’s important that the butter is softened to room temperature before beating. Speed up the process by cutting the butter into small chunks. If you only have salted butter on hand, do not add additional salt to the cupcakes.
- Granulated sugar. This is used to sweeten the cupcakes.
- Egg. Be sure that your large egg is room temperature. Speed up the process by placing the egg in lukewarm water at room temperature.
- Buttermilk. Buttermilk is acidic and reacts with the baking soda, resulting in light, fluffy cupcakes. Don’t have any on hand? Make homemade buttermilk by combining regular milk with 1 tablespoon lemon juice or vinegar and let stand 10 minutes until soured.
- Red gel paste color. This is responsible for the beautiful red hue. See affiliate link in the recipe for the exact brand that I used.
- Pure vanilla extract. Adds vanilla flavor to the cupcakes.
- Baking soda. Provides leavening to the cupcakes by reacting with the vinegar.
- Cream cheese frosting. Use my homemade cream cheese frosting recipe, which isn’t overly sweet. It’s the perfect balance of sweet, tangy flavor!
How to make this red velvet cupcakes recipe
This red velvet cupcakes recipe is extremely easy to make following the step by step instructions below.
I highly recommend having all of your ingredients prepped and ready to go as this recipe goes very quickly once you get started.
Pro tip: Place the butter, egg and buttermilk on the counter one hour prior to baking to allow them to come to room temperature. Cut the butter into small chunks and place your egg in a bowl of warm water (not hot!) for a few minutes to bring to room temperature more quickly.
See the recipe card below for full instructions.
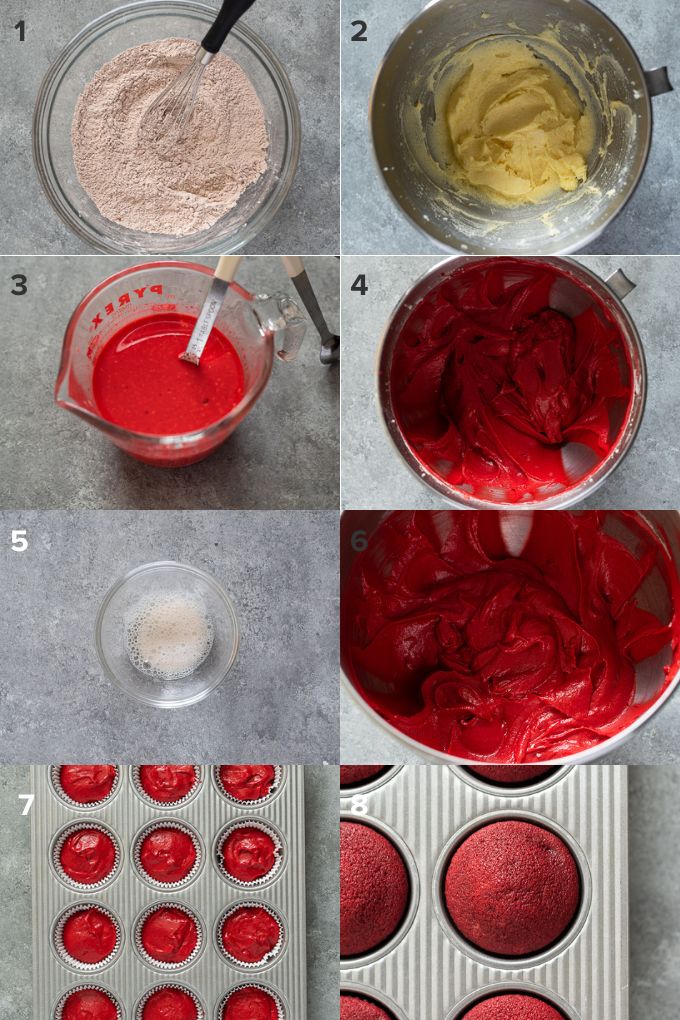
- Whisk the flour, cocoa powder and salt together in medium bowl.
- Cream the butter and sugar at medium high speed until light and fluffy. Add the egg, mixing on low speed just until incorporated.
- Combine the buttermilk with the red coloring and vanilla, stirring well.
- Add 1/3 of the flour to the butter mixture, followed by one third of the milk, and mix on low. Repeat, adding the remaining flour and milk in 1/3’s, scraping down the bowl as needed.
- In a small bowl, add the baking soda to the vinegar, which will fizz up, and mix thoroughly.
- Add the baking soda mixture to the batter, beating on low speed just until incorporated.
- Divide the batter evenly between the (12) cavities.
- Bake at 350 degrees for 18-22 minutes or until the cake springs back when pressed gently, checking for doneness after 15 minutes. Remove from heat and cool completely before frosting. See my cream cheese frosting recipe for full instructions.
FAQs
Red Velvet Cake originated some time during the Victorian Era and has a signature red hue and a crumb that’s soft and smooth like velvet.
Acidic ingredients like buttermilk or vinegar in the cake along with non-Dutch processed cocoa powder were responsible for giving the cake a natural reddish tint.
Food coloring wasn’t added originally, but sometimes beetroot was used to provide a deeper red color to the cake. Today, food coloring or beetroot are widely used to enhance the color of the cake.
Red velvet cake isn’t chocolate cake and isn’t quite vanilla….it’s a hybrid if you will. A small amount of cocoa powder gives the cake a mild cocoa flavor, yet it still tastes like vanilla.
The cake is typically frosted with cream cheese frosting, which adds a wonderful tangy flavor.
These flavors work together so perfectly, and are what makes these red velvet cupcakes so special.
If you don’t have buttermilk on hand, you can make it yourself! Simply add a tablespoon of lemon juice or vinegar to regular milk and stir. Let stand at room temperature for 10 minutes until soured and it’s ready to use.
Recipe notes
- Pro tip: Place the butter, egg and buttermilk on the counter one hour prior to baking to allow them to come to room temperature.
- Cut the butter into small chunks and place your egg in a bowl of warm water (not hot!) for a few minutes to bring to room temperature more quickly.
- Store red velvet cupcakes in an air tight container in the refrigerator for up to 3 days, or refrigerator for up to 5 days. For best results, serve at room temperature.
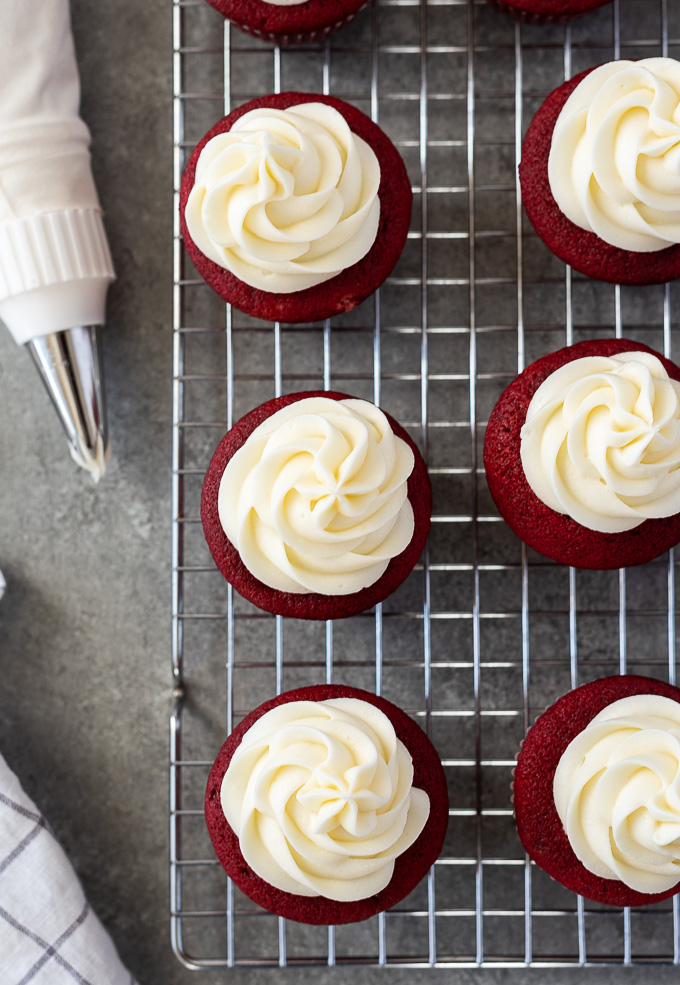
- I used a Wilton 1M piping tip to pipe my frosting.
More cake recipes you’ll love!
- Almond flour cake
- Black bottom cupcakes
- Carrot cupcakes by Sugar Spun Run
- French apple cake
- Hummingbird cupcakes
Did you try this recipe? If so, be sure to leave a review below and tag me @flavorthemoments on Facebook and Instagram
Red Velvet Cupcakes
Ingredients
- 1 1/3 cups all purpose flour
- 2 tablespoons unsweetened cocoa powder
- 1/2 teaspoon salt
- 1 stick unsalted butter softened to room temperature
- 1 cup granulated sugar
- 1 large egg room temperature
- 3/4 cup buttermilk room temperature
- 1 tablespoon red gel paste coloring
- 1 teaspoon pure vanilla extract
- 1/2 teaspoon baking soda
- 1/2 teaspoon apple cider or white vinegar
- cream cheese frosting
Instructions
- Preheat the oven to 350 degrees. Line a standard muffin pan with paper liners.
- Whisk the flour, cocoa powder and salt in a medium bowl. Set aside.1 1/3 cups all purpose flour, 2 tablespoons unsweetened cocoa powder, 1/2 teaspoon salt
- In the bowl of a stand mixer fitted with the paddle attachment, cream the butter and sugar at medium speed for 3-5 minutes, or until light and fluffy. Add the egg on low speed, beating just until incorporated. Scrape down the sides of the bowl as necessary.1 stick unsalted butter, 1 cup granulated sugar, 1 large egg
- Place the buttermilk, red gel paste and vanilla extract in a glass measuring cup and stir well to combine.3/4 cup buttermilk, 1 tablespoon red gel paste coloring, 1 teaspoon pure vanilla extract
- Add 1/3 of the flour, followed by one third of the milk, and mix on low. Repeat, adding the remaining flour and milk in 1/3’s, scraping down the bowl as needed.
- In a small bowl, add the baking soda to the vinegar, which will fizz up. Mix thoroughly and add this reaction to the batter, beating on low speed just until incorporated.1/2 teaspoon baking soda, 1/2 teaspoon apple cider or white vinegar
- Divide the batter evenly between each muffin cavity and bake for 18-22 minutes (check after 15 minutes), or until a toothpick comes out clean.
- Transfer the pan to a wire rack and cool in the pan 10 minutes. Remove from the pan and cool completely.
- Frost the cupcakes with the cream cheese frosting and enjoy!cream cheese frosting
Notes
- Pro tip: Place the butter, egg and buttermilk on the counter to allow them to come to room temperature a minimum of 1 hour prior to baking
- Cut the butter into small chunks and place your egg in a bowl of warm water (not hot!) for a few minutes to bring to room temperature more quickly.
- The nutrition information does not include the frosting as that is calculated in a separate post.
- Store red velvet cupcakes in an air tight container in the refrigerator for up to 3 days, or refrigerator for up to 5 days. For best results, serve at room temperature
- I used a Wilton 1M piping tip to pipe my frosting.
-
Nutrition
Nutrition is estimated using a food database and is only intended to be used as a guideline for informational purposes.
**This post was originally published in January 2015. It has been restructured for better readability and the text has been modified to include more recipe information.


49 Comments on “Red Velvet Cupcakes”
Thank you @flavorthemoments for co-hosting this great giveaway! I was contacted by Kristi and I am the winner! Yeah! I love following your blog and collecting all of these fantastic recipes. I will be stopping by often.
Congratulations, Trish! I hope you enjoy your gift card and thank you so much for the personal message here! Looking forward to hearing from you again. 🙂
You are getting me excited for Valentine’s Day! These cupcakes would be the perfect dessert. Love those little heart sprinkles. So cute!
Those heart sprinkles are so darling, aren’t they? I’ve got a big ole bottle of them and I’m going to have to figure out something else to make so I can use them up! haha
These are so adorable!! I love the little heart sprinkles! Red velvet is definitely a perfect Valentine’s Day treat!
Thank you, Jess, and I fell hard for those little heart sprinkles! 🙂
I’ve made red velvet cupcakes once and felt the exact same way about adding all of that food coloring! I figure, it’s a once in a while treat. Plus, they are just so good! It’s amazing what that tiny bit of cocoa powder can do.
Yeah, it’s not like I put food coloring in food very often, so a couple of times a year won’t hurt anybody. 🙂 And yes, it really is amazing that just a little cocoa powder works so much magic! 🙂
I’m not a huge fan of Valentine’s day either – last year we went to Chipotle and I loved it! Great looking cucpcakes!
Chipotle would be about the only place I would go to eat — it’s still fresh and they don’t have some crazy prix fixed menu and jacked up prices. haha
I do know how you feel about cupcakes, so consider these for you! 🙂 And thank you for the pin! 🙂
We do the same thing, Stacy — we like to go out on a different night than Valentine’s Day. It’s so much nicer that way! And your right about bad service…that is no way to celebrate! 🙂
Such pretty cupcakes Marcie! That frosting is to die for! Perfect for Valentine’s Day 🙂 We tend to stay home too, it’s hard to just take off and leave the boys.
Thank you, Trish, and I agree — I like spending Valentine’s Day with the kids, too! We do date night on a different night and it’s so much nicer that way. 🙂
Whoever thought of red velvet was brilliant! I wish it hadn’t have taken me so long to get on the train, but now I’m never getting off! 🙂
Thank you, Meghan! 🙂
I know, and I’m trying to be healthy, too. (I made these for New Year’s Eve). haha I don’t like the price hikes or the crazy crowds and prix fixed menus on V-Day. We’ll go out another night and stay in that night…much nicer! 🙂
I hopped on board the red velvet-bandwagon last winter and I don’t think I ever want to get off. It’s definitely NEVER too early to break out the red cake, especially in cupcakes that look as amazing as these do!
It isn’t too early to break out “red cake” haha. Thanks, Sarah! 🙂