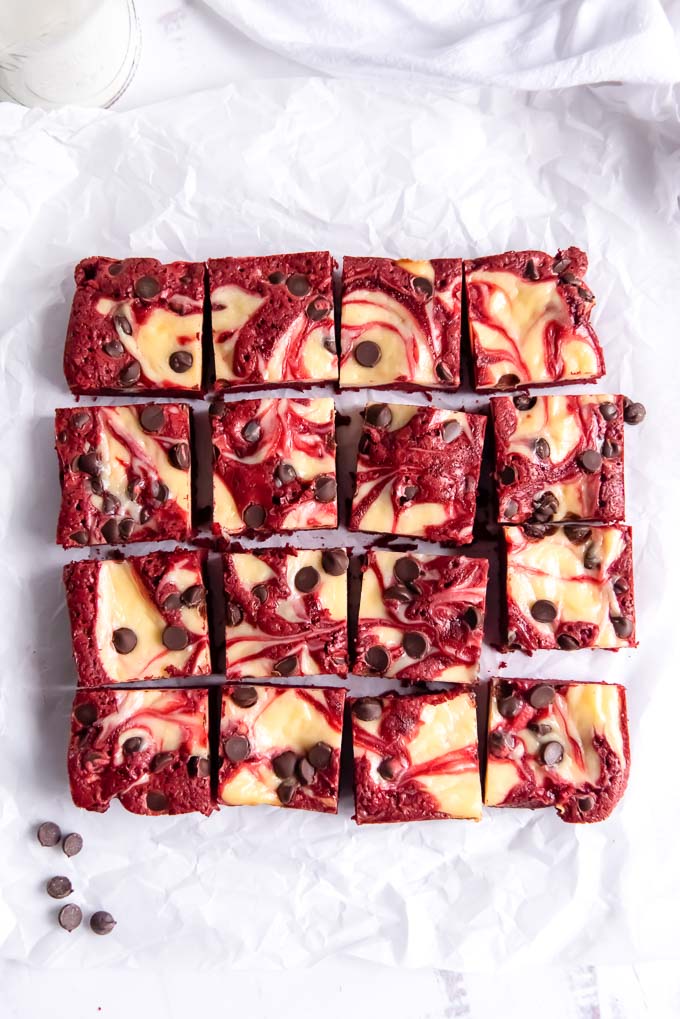
Red Velvet Brownies
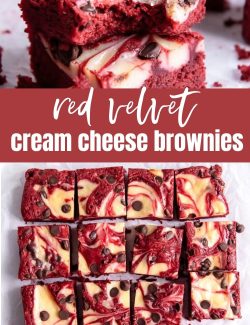
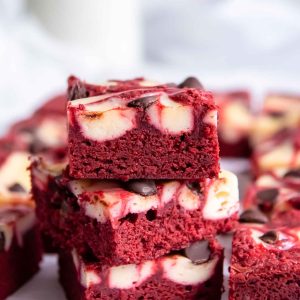
These rich, decadent Red Velvet Brownies include the flavors of vanilla and cocoa, a luscious cheesecake swirl and chocolate chips! They’re an easy, festive brownie recipe that’s perfect for Christmas, Valentine’s Day or any occasion!
I fell in love with red velvet flavors after my first bite several years ago. There’s something so special about the subtle flavors of vanilla, cocoa powder and tangy cream cheese frosting.
The beautiful red hue is so bright and festive, and it also doesn’t hurt that red is my favorite color. 🙂
These Red Velvet Brownies are a fun twist on my cheesecake brownies. This recipe delivers all the flavor of my red velvet cupcakes and red velvet macarons, and it’s even easier to make.
If you love brownies like I do, be sure to check out the recipes for fudgy matcha brownies and peppermint brownies!
Why you’ll love this recipe:
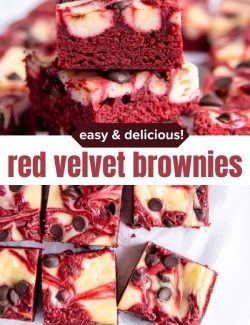
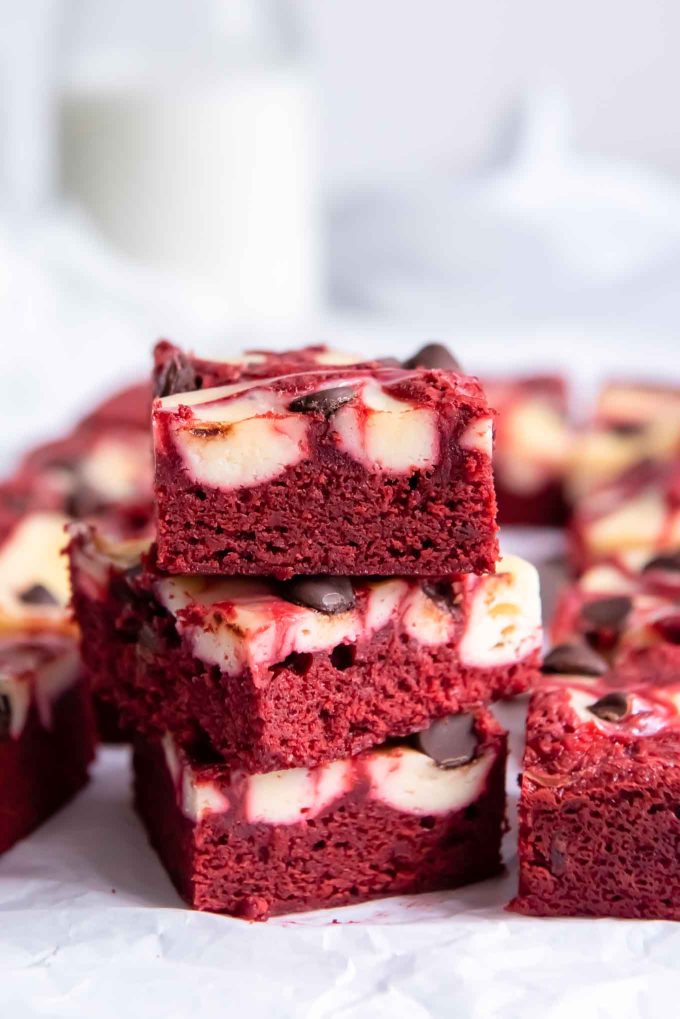
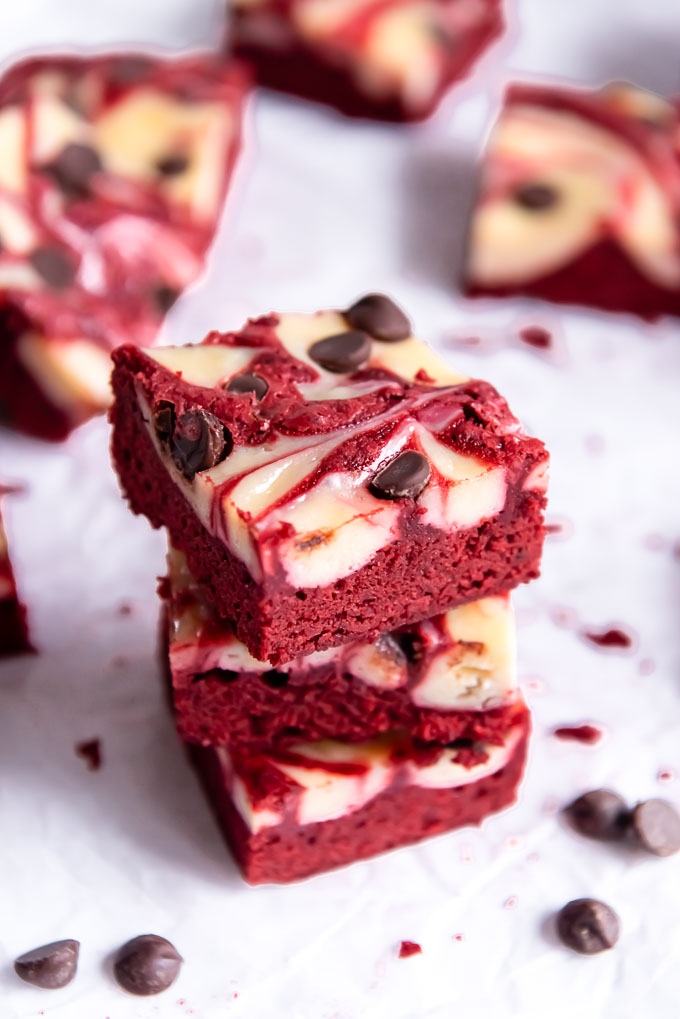
- These red velvet brownies are rich and decadent with a luscious cheesecake swirl and the perfect balance of chocolate and vanilla flavor.
- They’re extremely easy to make and are ready in 45 minutes from start to finish.
- They make a festive dessert for Christmas, Valentine’s Day or any occasion.
Recipe ingredients
This red velvet brownie recipe includes everything you need for the brownie base and luscious cheesecake swirl.
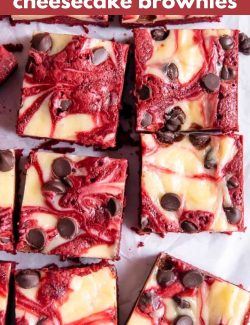
The swirl is reminiscent of the cream cheese frosting that is classic to red velvet cake, and makes them even more festive!
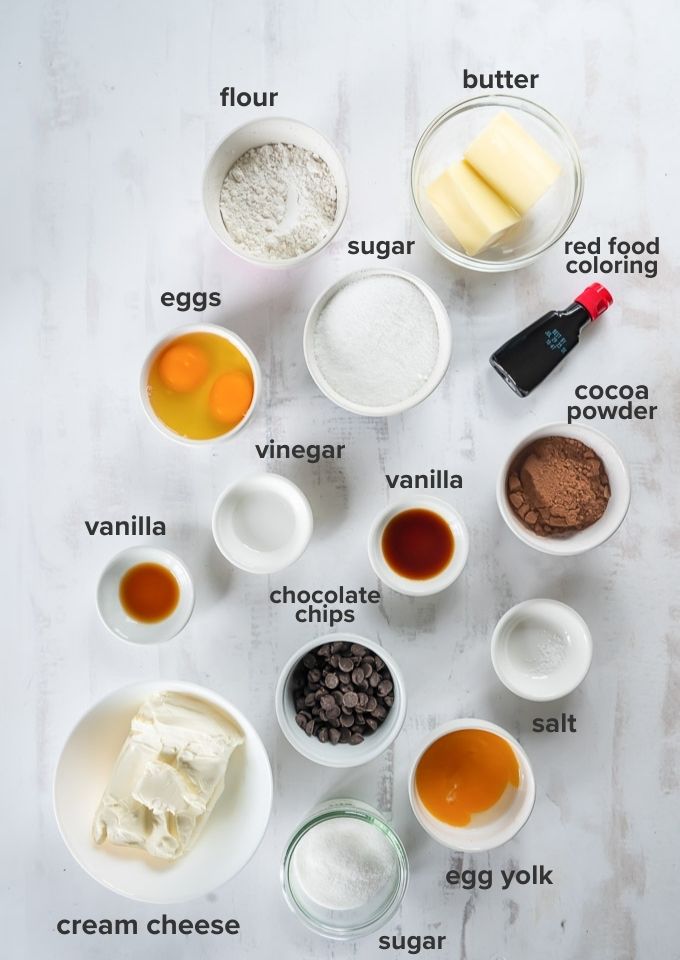
- All purpose flour. The gluten in the flour provides structure to the brownies.
- Butter. Lends a rich, buttery flavor. If using salted butter, omit the salt from the recipe.
- Sugar. Granulated sugar provides sweetness to the brownies and the cheesecake layer.
- Cocoa powder. Just a bit of cocoa powder gives these red velvet brownies a hint of chocolate flavor and contributes to their signature deep red color.
- Eggs. Provides structure. 2 large eggs are needed for the red velvet brownie base, and 1 is needed for the cream cheese layer.
- Vinegar. The vinegar promotes the beautiful red color. Apple cider vinegar or white balsamic vinegar may be substituted for the white vinegar.
- Red food coloring. I used liquid red food coloring for this recipe, but you may also use gel. If using gel coloring, be sure to start off using half the amount specified for the liquid and add more until you achieve the desired color.
- Cream cheese. You’ll need 8 ounces of cream cheese. Be sure that it’s softened to room temperature as it’s impossible for cold cream cheese to beat up smooth.
- Vanilla extract. Provides the vanilla flavor that red velvet is known for.
- Chocolate chips. Optional but highly recommended for additional chocolate flavor!
See the recipe card for the full list of ingredients and quantities.
How to make red velvet cheesecake brownies
There are two components to this red velvet brownie recipe — the brownie base and the cheesecake swirl.
Both components are very easy to make. You’ll have the brownies prepped and in the oven in about 15 minutes!
Pro tip: Let the cream cheese stand at room temperature 15-30 minutes prior to baking.
See the recipe card below for full instructions.

- Melt the butter in the microwave in a large heatproof bowl.
- Whisk in each of the following ingredients separately, and in order: 1 cup sugar, vanilla, cocoa powder, salt, red food coloring, and vinegar.
- Whisk in the eggs until incorporated.
- Fold in the flour just until combined.
- Reserve 4 tablespoons of the brownie batter and set aside. Pour the remaining batter into the prepared pan and spread evenly.
- Place the cream cheese, sugar, egg and vanilla in a medium bowl and beat well to combine.
- Spoon the filling over the brownie batter in large dollops. Spoon the reserved 4 tablespoons red velvet brownie batter over the top of the cream cheese filling, and sprinkle the chocolate chips over that.
- Using a knife, swirl the cream cheese and brownie batter together in a circular motion to combine the layers. Bake for 25-30 minutes, or until a toothpick inserted into the center comes out clean.
Recipe FAQs
Red velvet is the perfect blend of vanilla and chocolate. Just a touch of cocoa powder is added to give it a mild chocolate flavor.
To make cheesecake swirl brownies, dollop the cheesecake mixture over the top of the brownie batter. From there, drag the tip of a knife through the cheesecake batter in a circular pattern to create swirls.
Red velvet cheesecake brownies may be stored at room temperature in an air tight container for up to 3 days, or stored in the refrigerator for up to 1 week.
Recipe notes:
- Pro tip: Place the eggs and cream cheese at room temperature 15-30 minutes prior to baking.
- If using gel food coloring, decrease the amount to 1.5 teaspoons and add more as needed to achieve the desired hue.
- Red velvet cheesecake brownies may be stored at room temperature in an air tight container for up to 3 days, or stored in the refrigerator for up to 1 week.
More brownie recipes you’ll love:
Did you try this recipe? If so, be sure to leave a review below and tag me @flavorthemoments on Facebook and Instagram
Red Velvet Brownies
Ingredients
Brownies
- 1 stick unsalted butter
- 1 cup granulated sugar
- 2 teaspoons vanilla extract
- 1/4 cup unsweetened cocoa powder
- 1/4 teaspoon salt
- 1 tablespoon liquid food coloring use half a tablespoon if using gel food coloring
- 1 teaspoon white vinegar white balsamic works as well
- 2 large eggs
- 3/4 cup all purpose flour
Cheesecake layer
- 8 ounces cream cheese softened
- 1/3 cup granulated sugar
- 1 large egg
- 1 teaspoon vanilla extract
- 1/4 cup semi-sweet chocolate chips
Instructions
For the brownies:
- Preheat the oven to 350 degrees. Grease an 8×8" square baking pan with cooking spray or line with foil.
- Melt the butter in the microwave in a large heatproof bowl.1 stick unsalted butter
- Add the sugar, vanilla, cocoa powder, salt, red food coloring and vinegar to the melted butter and whisk well to combine.1 cup granulated sugar, 2 teaspoons vanilla extract, 1/4 cup unsweetened cocoa powder, 1/4 teaspoon salt, 1 tablespoon liquid food coloring, 1 teaspoon white vinegar
- Whisk in the 2 eggs until incorporated, then fold in the flour just until combined.2 large eggs, 3/4 cup all purpose flour
- Reserve 4 tablespoons of the brownie batter and set aside. Pour the remaining batter into the prepared pan and spread evenly.
For the cheesecake layer:
- Beat the cream cheese, 1/3 cup sugar, 1 egg and vanilla in a medium bowl until smooth.8 ounces cream cheese, 1/3 cup granulated sugar, 1 large egg, 1 teaspoon vanilla extract
- Spoon the filling over the brownie batter in large dollops. Spoon the reserved brownie batter over the top of the cream cheese filling, and sprinkle the chocolate chips over that.1/4 cup semi-sweet chocolate chips
- Using a knife, swirl the cream cheese and brownie batter together in a circular motion to combine the layers.
- Bake on the center rack of your oven for 20-25 minutes, or until a toothpick inserted into the center comes out clean and the center is slightly puffed. Cool completely on a wire rack before cutting into squares. Enjoy!
Notes
- Pro tip: Place the cream cheese at room temperature 30-60 minutes prior to baking. It’s impossible to make cold cream cheese smooth.
- If using gel food coloring, decrease the amount to 1.5 teaspoons and add more as needed to achieve the desired hue.
- Red velvet cheesecake brownies may be stored at room temperature in an air tight container for up to 3 days, or stored in the refrigerator for up to 1 week.
Nutrition
Nutrition is estimated using a food database and is only intended to be used as a guideline for informational purposes.
**This recipe was originally published in December 2013. The photos have been updated to include step by step and instructions, and the text has been modified to include more recipe information.

14 Comments on “Red Velvet Brownies”
Dear Marcie, these look wonderful! What a fun and pretty treat. I would love to try these sometime. xoxo, Catherine
Thank you, Catherine!
I’m so glad to hear you enjoyed the brownies! I really have to work hard to get swirls right…I think it’s almost an art form. haha Thank you for taking the time out to comment, and have a great day! 🙂
I officially want one of everything on your blog!!
Thank you, Paula! The feeling is mutual!
I know, right?! These brownies are not only delicious, they’re easy!
Just made these and they’re to DIE for! Moist, flavorful (but not over the top!), pretty, and better/easier than plain brownies. Didn’t have white vinegar, so I used white wine vinegar. No difference was discernible.
I’m so glad you loved them, Cecilia! I think these are some of the best brownies ever.
I’m so glad they worked out for you, Veni! It really is hard not to eat them all! Have a great weekend.
Love Sally & her recipes. You did a great job on these – I’d love to take a big bite!
Thanks, Averie! I’m in need of some of your healthier recipes after these!
These look great!!!
They’re absolutely heavenly!
Wow that was so quick to bake, shoot, and post! So glad you made them and loved them. They look wonderful!