

Homemade Fruit on the Bottom Yogurt Cups
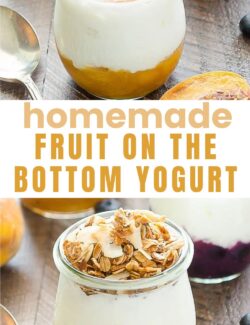

Skip the individual store bought yogurt cups and make Homemade Fruit on the Bottom Yogurt instead! Creamy Greek yogurt is layered over a simple homemade fruit compote for an easy meal prep breakfast or snack that you can customize with your favorite fruit!
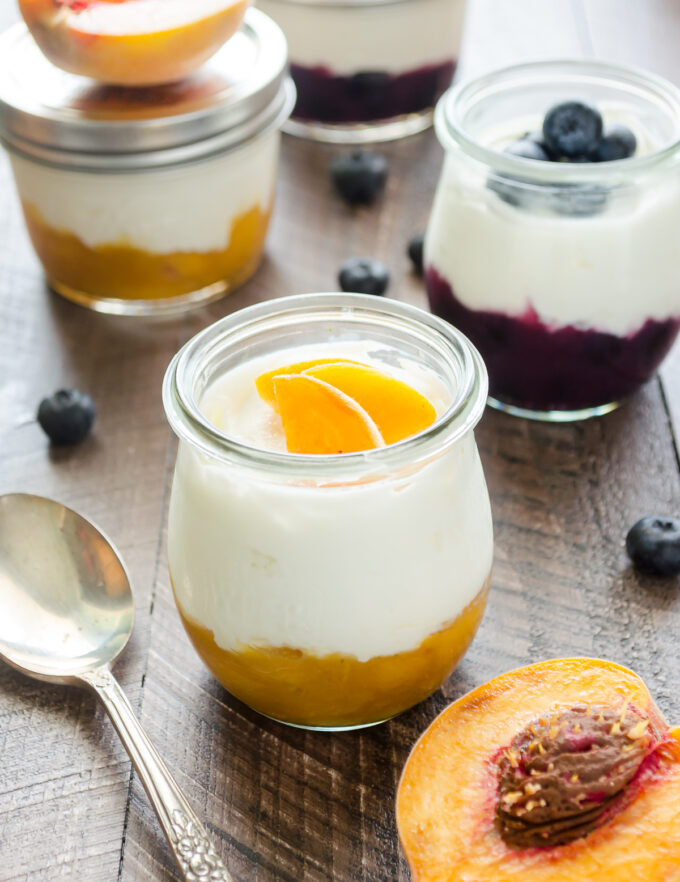
There’s nothing wrong with grabbing a yogurt cup at the store, but I love making my own because I get to control exactly how sweet it is. Many flavored yogurts are sweeter than I prefer, while plain yogurt gives me a blank canvas to customize it just the way I want it.
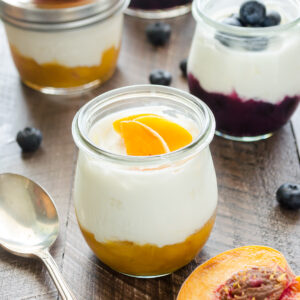
These Fruit on the Bottom Yogurt Cups are made with plain Greek yogurt and homemade fruit compote, so they’re creamy, fruity and completely customizable. Prepare a batch in small jars at the beginning of the week and you’ll have an easy make-ahead breakfast or snack waiting in the refrigerator.
I originally made these with fresh peach and blueberry compotes because both fruits were at their peak, but almost any fruit works. Change the fruit with the seasons or use frozen fruit when your favorite isn’t available.
If you love cherries, my cherry compote is another delicious option!
Why you’ll love this recipe
- Easy meal prep. Assemble several yogurt jars at once for grab-and-go breakfasts and snacks throughout the week.
- You control the sweetness. Plain yogurt and homemade fruit compote allow you to sweeten your yogurt to taste.
- Completely customizable. Use Greek yogurt or regular yogurt and virtually any fruit compote you like.
- Fresh or frozen fruit works. This makes homemade fruit yogurt easy to prepare year round.
Recipe ingredients
You only need a few simple ingredients to make homemade yogurt cups.
- Plain yogurt. I prefer plain Greek yogurt because it’s thick, creamy and higher in protein, but regular plain yogurt works perfectly as well. Use your favorite dairy or non-dairy yogurt.
- Fruit compote. Homemade fruit compote creates that sweet, jammy fruit layer at the bottom of each jar. Peach, blueberry, strawberry, raspberry or cherry are all great options.
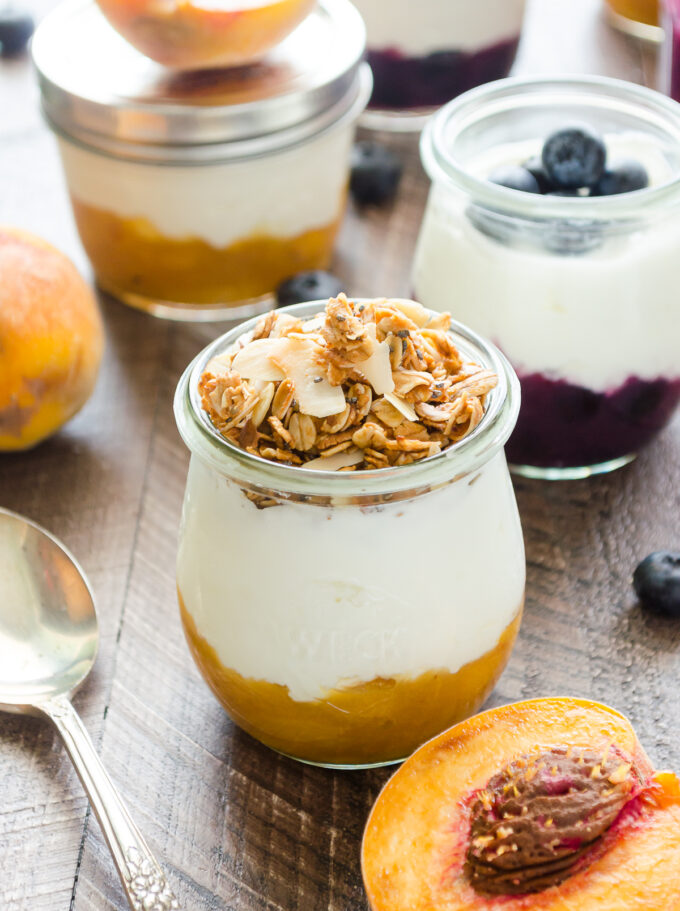
- Granola. This is optional, but I love the crunchy texture it adds. Store bought granola works well, or try my peanut butter granola or almond butter granola.
- Small jars. Four-ounce jars work well for smaller portions, but I recommend 6-ounce jars if you’d like room for granola and stirring.
See the recipe card below for the full list of ingredients and quantities.
How to make this recipe
Making homemade fruit on the bottom yogurt starts with a simple fruit compote, which takes just a few minutes on the stovetop. Once it has cooled, all that’s left to do is layer it into jars with your favorite yogurt.
Pro tip: Fresh or frozen fruit may be used to make the compote. There’s no need to thaw frozen fruit first, but it may take a few minutes longer to cook and thicken.
See the recipe card below for full instructions.
Make the fruit compote
- Place the fruit and sweetener in a small saucepan and cook over medium heat, stirring occasionally, until the fruit begins to soften and release its juices.
- Use the back of a spoon or a potato masher to gently mash some of the fruit as it cooks, leaving plenty of pieces for texture. Continue cooking until the juices have reduced and the mixture has thickened to a jammy consistency.
- Remove the compote from the heat and allow it to cool completely before assembling the yogurt cups.
Assemble the yogurt jars
- Spoon about 2 tablespoons of cooled fruit compote into the bottom of each jar.
- Top the fruit with about 4 ounces of plain Greek yogurt or regular yogurt, then cover and refrigerate until you’re ready to enjoy.
- When it’s time to eat, stir the fruit into the yogurt or simply dig down to the bottom to get creamy yogurt and sweet fruit in every bite.
- If you’d like to add granola, nuts or seeds, keep them separate until just before serving so they stay nice and crunchy.
Tips for success
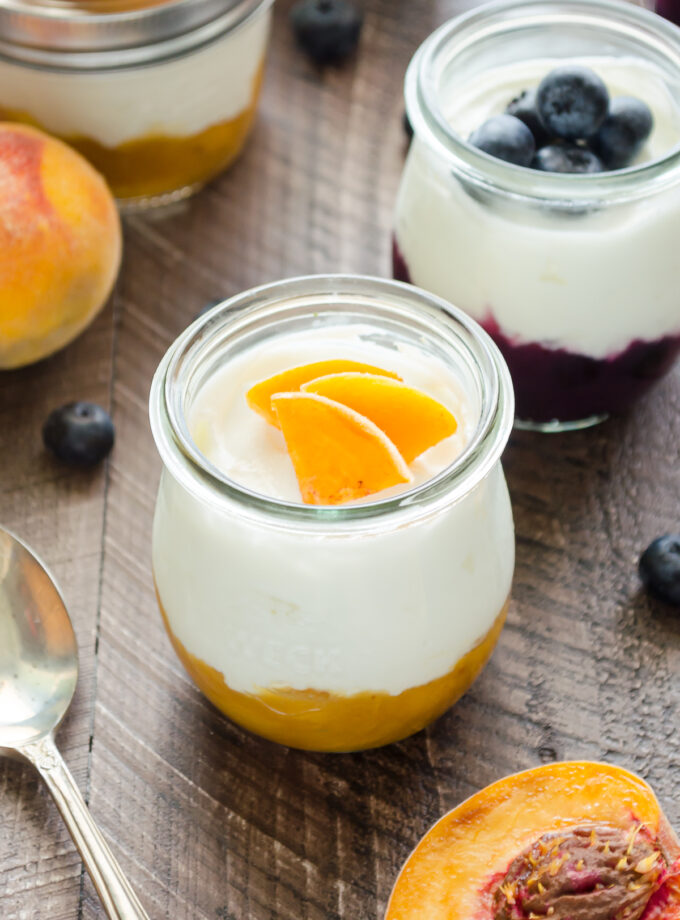
- Cool the compote first. Allow the fruit compote to cool completely before layering with the yogurt. This keeps the yogurt cold and preserves its creamy texture.
- Use plain yogurt for more control of the sweetness. The fruit compote adds plenty of sweetness, and you can always add more sweetener if you prefer.
- Choose Greek yogurt for thicker yogurt cups. Regular yogurt works too, but Greek yogurt creates a thicker, creamier consistency and won’t mix into the fruit layer quite as quickly.
- Leave room for toppings. 6-ounce jars are ideal if you want to top your yogurt with granola, nuts, seeds or additional fruit.
- Keep crunchy toppings separate. Add granola and nuts just before serving so they don’t get soggy in the refrigerator.
Recipe variations
There are so many ways to change up these yogurt cups based on what you have on hand.
- Use your favorite dairy-free yogurt for a plant-based option.
- Add chia seeds, chopped nuts or hemp hearts for extra texture.
- Flavor the yogurt with a splash of vanilla extract, cinnamon, or a bit of maple syrup or honey if you want it sweeter.
- Top with your favorite fresh berries or chopped fruit.
Storage
I love preparing several jars at once to have them ready to go for breakfast or snacks. It’s a simple meal prep, and each jar can be a little different if you use more than one fruit compote.
- Store homemade fruit on the bottom yogurt cups in air tight jars or containers in the refrigerator for up to 4-5 days.
- For the best texture, store crunchy toppings like granola and nuts separately to keep them from getting soggy in the refrigerator.
More back to school snacks you’ll love!
Did you try this recipe? If so, be sure to leave a review below and tag me @flavorthemoments on Facebook and Instagram
Homemade Fruit on the Bottom Yogurt Cups
Equipment
Ingredients
For the compote:
- 16 ounces fresh or frozen fruit chopped peaches, strawberries, raspberries or blueberries are all great options
- 2 tablespoons maple syrup sub with honey or your favorite sweetener
- 2 tablespoons water
- 1 teaspoon cornstarch
- 32 ounces plain Greek or your favorite yogurt
Instructions
Prepare the compote
- Place the fruit in a small sauce pan. Add the maple syrup, water, and cornstarch and stir until combined. Cook over medium heat until the fruit has softened slightly and the sauce has thickened, about 5-10 minutes. Cool completely.16 ounces fresh or frozen fruit, 2 tablespoons maple syrup , 2 tablespoons water, 1 teaspoon cornstarch
Assemble the yogurt cups:
- Place 2 tablespoons of the fruit compote in the bottom of each jar. Top with about 4 ounces of plain yogurt and place the lids on each one. Store in the refrigerator for up to 1 week.32 ounces plain Greek
Notes
- Pro tip: Use 6-ounce jars to leave plenty of room for stirring in granola or other toppings.
- Plain Greek yogurt provides a thick, creamy texture, but regular or dairy-free yogurt may also be used.
- Let the fruit compote cool completely before layering it with the yogurt.
- Store fruit on the bottom yogurt covered in the refrigerator for up to 4–5 days. Keep granola and other crunchy toppings separate until serving.
Nutrition
Nutrition is estimated using a food database and is only intended to be used as a guideline for informational purposes.

26 Comments on “Homemade Fruit on the Bottom Yogurt Cups”
What is your go to plain yogurt? And brand of maple syrup?
Blessings
Jeannine Flores
I love using plain Greek yogurt, normally 1 or 2%. And I buy my maple syrup at Costo — it’s the most cost effective!
Hi Michelle! No, the maple flavor isn’t very pronounced…it’s more of a background flavor. It’s one of my favorite sweeteners, even more so than honey. 🙂
Hello,
Just wondering where the glass yogurt pots are from. Just starting out and cant seem to find them easily. Is there a name on the bottom of them. Thank you for any help finding them. Your fruit on the bottom is exactly what I am looking for most tell you to put jam in the bottom. Thank you
Hi Pamela! These are Weck tulip jars, which you can find easily on Amazon.
It’s too soon for fall!! These look super yummy!
It is too soon, and thank you, Laura!
These yogurt cups look so good Marcie! I’m always looking for make-ahead breakfast ideas and I am totally obsessed with sprinkling granola on top of my yogurt. Yum!
Thank you, Christin! I’m the same way about make-ahead breakfasts, and the granola on top is a must!
Oh wow, you saw Halloween costumes already!? Crazy!! Before you know it Christmas decorations are going to be out… which just feels weird.. where has the year gone, right?! Anyways, I love those fruit on the bottom yogurts, but you are right – so much sugar and expensive to boot. So I am loving that you did a little DIY on those! These are so clever Marcie and they look a million times better than the store bought ones! I can’t wait to try these! Cheers, friend!
Wow…this sounds super healthy and delicious Marcie. Mmmmm….I am loving it… 🙂
These bottom yogurt cups look so bright and so delicious. I would love to wake up to these babies for my brekky everyday! And these photos are so pretty. Have a wonderful weekend! 🙂
these yoghurt cups are so lovely marcie! definitely perfect for breakfast and something that i would love Xx
Thank you, Thalia! 🙂
I”m with you, Marcie. As much as I love fall, I am not ready to give up on summer. These yogurt cups are the perfect way to make good use out of all the in season fruit right now 🙂 They look amazing and so much better than anything you can buy in the store!
Thanks, Kelly! Homemade is always best, right? 😉
I had something very similar to this just this morning, great idea to make your own so you know what is in it. Looks delicious Marcie!
Thank you, Cheri!
haha I’m ready for fall … but like early fall you know? Just slightly less humid weather! I am sooo not ready for halloween stuff! eeek!
I love what you did here! I stopped buying fruit yogurts a long time ago since they have sooo much sugar! I usually just add honey to yogurt but man this would take it up a notch! Sounds fantastic!
Yes…early fall would be perfect but NO Halloween stuff! I’m tired of my boys eating sugar-filled yogurts, and I’m going to try to do this more often. Plain yogurt with honey is definitely something we love too!
What an awesome idea! I love those fruit on the bottom cups and I love the sustainability of making them yourself and avoiding all the plastic packaging 🙂
Thank you, Medha!
I have thought about doing this too! It’s crazy how much unnecessary sugar (and even dyes!) that some yogurts have, when fruit is so sweet and gorgeous on its own! I will definitely have to try this!
It’s ridiculous how much sugar is in yogurt — it’s so unnecessary! Thanks, Ashley!
I love fall too, but I’m not ready to see Halloween decor and all things related to that! I would much rather indulge in these yogurt cups and savor what’s left of summer. I love how you added the fruit on the bottom, Marcie! And those jars are so cute. Sounds like such a good breakfast or snack!
Thank you, Gayle! These are helping me hang on to summer a little bit longer. 🙂